


Blocks are critical elements of building an Application. This article discusses how to use the Block Explorer to organize and work with Blocks efficiently. We’ll show you how to access it using the Sidebar, make folders to organize Blocks, and how to duplicate or delete Blocks.

Access the Block Explorer
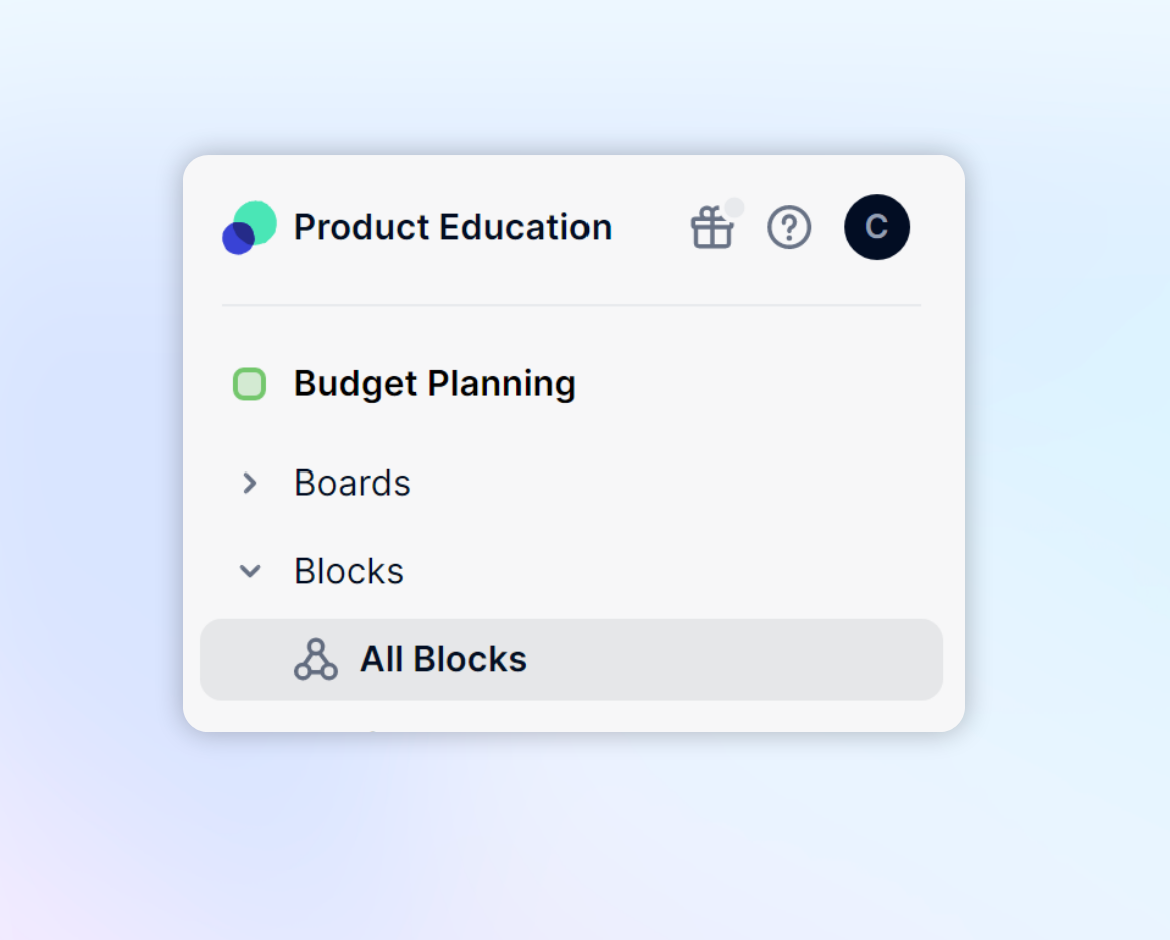
To access the Block Explorer, click on the Blocks folder dropdown icon > and select All blocks. All Blocks displays all the Blocks created in your model. Using the tabs across the top, you can also view by types of Blocks; Transactions, Dimensions, Metrics and Tables.
Create Blocks
You can create blocks directly from the Sidebar. In the Sidebar, hover over Blocks until you see a plus sign (+) appear. Click on the plus sign (+) to create all the different types of Blocks.
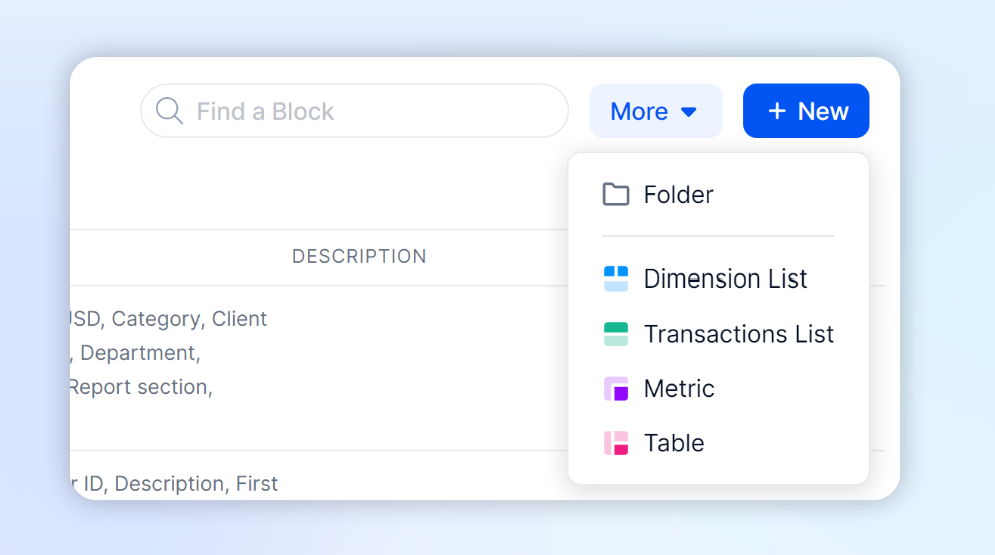
You can also navigate to the Block Explorer. Click the + New button to create different Blocks. You can also search from the Block Explorer to find any Blocks.
Organize your Blocks with folders
Filter Blocks
You can filter blocks from within the Block Explorer. Click the Filter icon on the right side to activate your filters.
- Filter all Block types by Shared Status and Views Library.
- Filter Metrics by Data type, Formula status, and Dimensions.
- Filter Tables by Metrics within them.
Customize Block Explorer Information
To select the information that you want to show in the Block Explorer, go to All Blocks and then click Display.
The following information is available to you:
All Blocks
- Description: The description of the Block.
- Shared: Blocks added to the Library.
- Views: Number of Block’s Views and number of Views added to the Library.
- Used Block: Indicates if a Block is used. To learn more, open the Settings menu on the Block, and review Block Usage. This is only available with Configure Blocks permission.
- Referenced Blocks: Number of Blocks that are using this Block’s data. This is only available with Configure Blocks permission.
- Folder: Block Explorer folders.
Transaction and Dimension lists
- Properties in structure: Number of properties in the List.
- Formulas: Displays the formula icon in Block Explorer if the List contains at least one formula in each one its properties.
- Number of items: Number of items in the List. This is only available with Configure Blocks permission.
Metrics
- Type of data: Type of the data in the Metric.
- Dimension in structure: Number of Dimensions in the Metric’s structure.
- Formula: Displays the formula icon if the Metric has a formula. Also displays a small pen if formula overrides are allowed.
- Maximum size: Maximum number of Metric cells. This is only available with Configure Blocks permission.
Tables
- Metrics in structure: Number of Metrics in Table.
View Metric Insights
To display specific Metric insights in the Block Explorer, do the following:
- Go to All Blocks and then click Metrics
- Click Insights.
The following information is available to you:
Data insights
- Size: Number of populated cells of a Metric.
- Density: Percentage of Metric cells with values.
Full Read access rights on the data for the block is necessary to view Size and Density information for Metrics.
Formula insights
This is only available with Configure Blocks permission.
- Number of formula executions. Number of times the formula has been executed over the past 15 days. Hover over the value to review activity over the past 24 hours.
- Average execution time. Average Metric formula execution time over the past 15 days. Hover over the value to review activity over the past 24 hours.
- Last execution time. The latest Metric formula execution time from the past 24 hours.
- Maximum execution time. Maximum execution time of the formula on the Block over the past 15 days.
- Total execution time. The sum total of formula execution time for all formulas executed on the Block over the past 15 days. Hover over the value to review activity over the past 24 hours.
For more information on how you can leverage Block Explorer’s insights to optimize your model, see Use Block Explorer Insights to Optimize your Application.
Create Folders
Create folders directly from the Sidebar to organize your Application. In the Sidebar, hover over either Boards or Blocks until you see a + sign appear, click on that to create a new folder. Need to rename or delete a folder? Hover over a folder in the Sidebar until you see the ellipses “…” then you’ll get the option to rename or delete.
You can’t delete a folder if it contains sub-folders. You need to first delete the sub-folders, and then you can delete the parent folder in the Block Explorer.
To add a subfolder, select the parent folder from the Parent Folder dropdown. This will nest the new folder into the existing one. When selecting a subfolder, the folder will be listed after the parent folder and separated with a /. For example, if you have an Expenses folder and a Travel Expenses subfolder, the Travel Expenses subfolder appears as Expenses / Travel Expenses in the folder menu.
While the name of a subfolder can match the parent folder, you are unable to have two subfolders with the same name within the same folder.
Currently it is not possible to move folders from one Parent to another. However, you can select multiple Blocks from within All Blocks or an existing folder and bulk move them into a new folder.
Moving Blocks into a folder
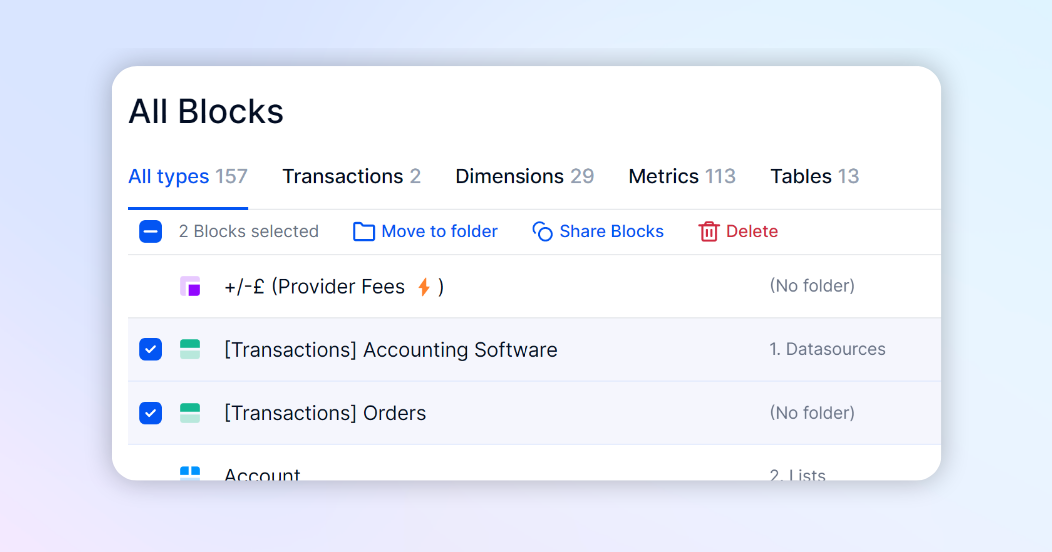
You can move Blocks into folders by selecting the box to the right of the Block’s name, then select Move to folder to help organize your Sidebar.
As a best practice, we recommend organizing your Blocks in folders. It is always best to do it while building. If you want to check out some more best practices, check out our Pigment Pro section.
Delete a Block
If the Block you delete is used by another Block, then its data will also be erased. Open Sharing & Usages in the Block’s Settings to ensure that the Block you’re deleting isn’t used elsewhere.
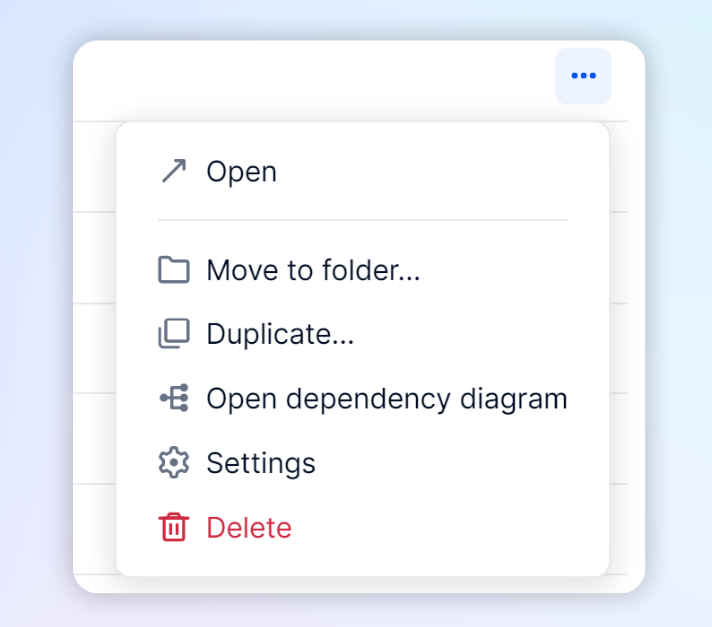
- Click the menu (...) at the end of the row for the Block you want to edit.
- Click Delete from the options on the left, then Delete list.
- Click Delete to confirm and complete.
Duplicate a Block
To make a copy of a Block, you use the same menu as shown above.
- Click the menu (...) at the end of the row for the Block you want to duplicate.
- Click Duplicate from the options on the left, then enter a new name for your duplicate Block.
-
Click Duplicate to confirm and complete.
By default the duplicate takes all the elements of the Block such as the structure (Dimensions), the formula, the data, import configurations and the Views. You can adjust which of these elements get duplicated by clicking on Duplicate options and toggling off the elements you don’t need in your duplicate Block.
Create a table
You can select multiple metrics from All Blocks and select Create Table. This allows for an easier view when selecting multiple metrics.
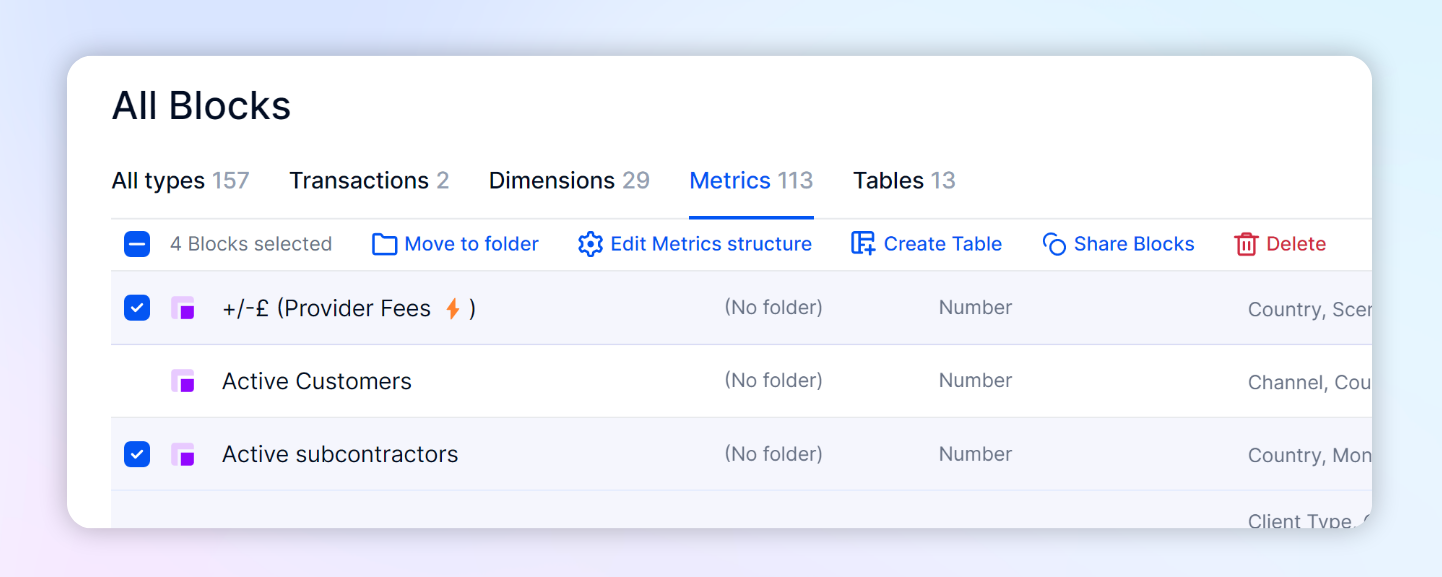
Edit the structure of multiple metrics
You can edit the structure of multiple metrics from All Blocks. To prevent unintended uses of this functionality, Pigment has made this an opt-in feature.
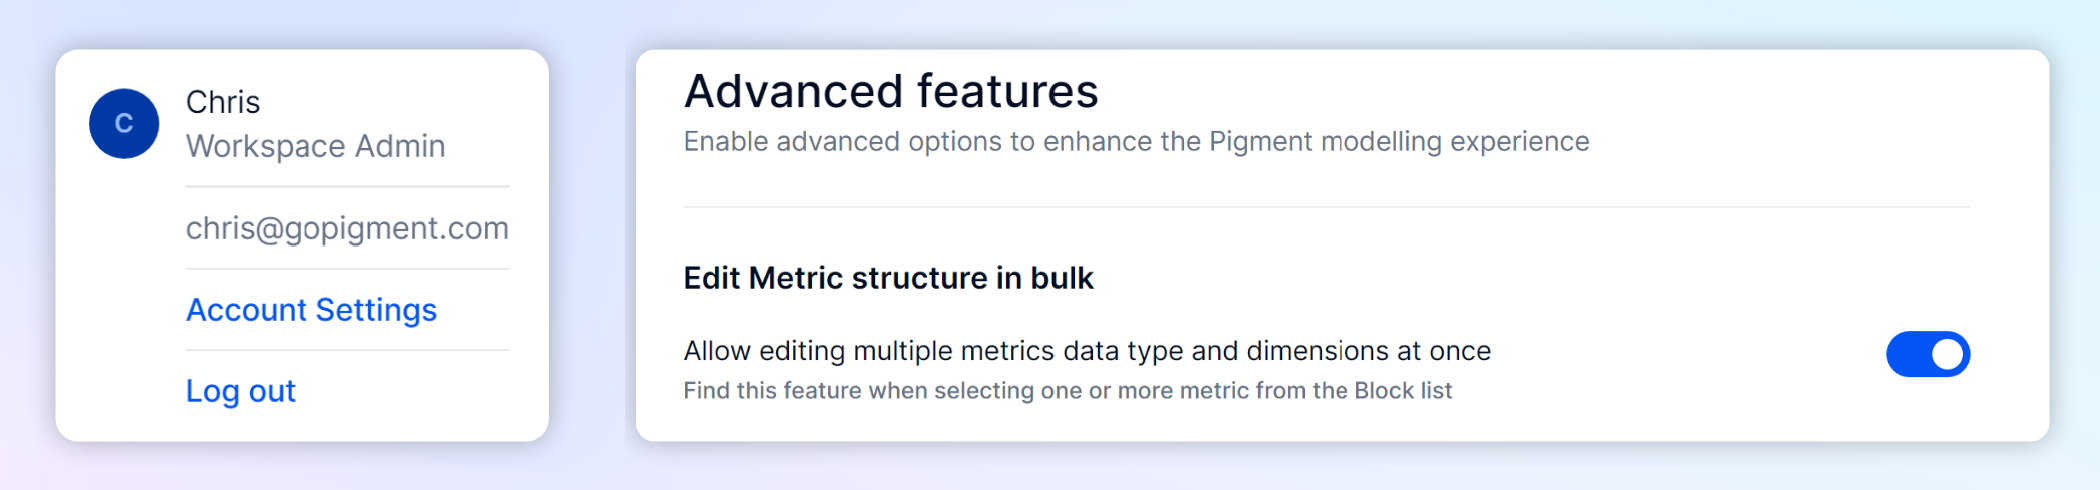
- In the Sidebar, click your initials in the top left to open your menu.
- Select Account Settings to open Advanced features.
- Use the toggle to turn on Edit Metric structure in bulk.
You’re now able to change the data type and structure of multiple Metrics at once.
Be aware that these changes will lead to data loss in Metrics without formulas.
Use Block Explorer insights to optimize your application
It is good practice to occasionally review your model and find ways to optimize it. Optimizing your model can lead to improved performance, speed and ease of maintenance. Refer to the article below to see how to use insights in the Block Explorer for this purpose.