


The right formatting and style can make all the difference when presenting information. With the correct formatting, your data will reach your users in a more efficient way. Pigment has broad formatting and styling options including the specific cells, font style, value displaying, and colors within a Table, Metric or List.
In Pigment there are three different types of formatting available:
- Static. Creates diverse Views of your data in Lists, Metrics, and Tables in either Grid or KPI display mode.
For more information, see Apply Static Formatting to Define Different Views. - Conditional. Changes the appearance of specific cells, such as background color, font color, font style, borders, prefix and suffix, on the basis of conditions that you specify.
For more information, see Apply Conditional Formatting to Highlight Data Changes. - Default formatting. Apply default formatting for Metric and property values that’s applied across all Views and all usages of the Metric.
For more information, see Apply Default Formatting Across All Instances of a Metric.
Where can you apply formatting?
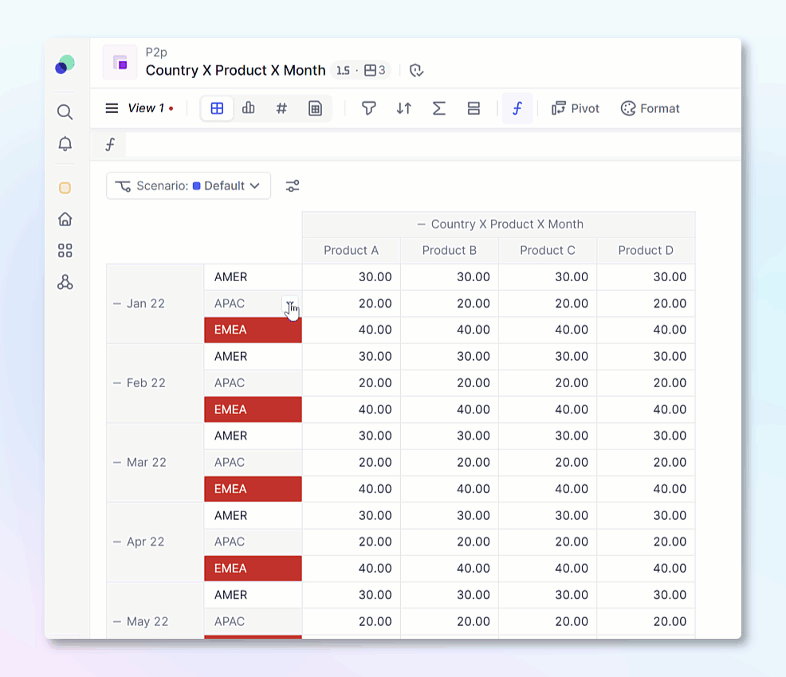
Formatting can be applied to Lists, Metrics, and Tables in Grid or KPI display mode. When applying Static formatting, you are applying it to a specific view. This allows you to have multiple views with different formatting. If you apply formatting while in Grid display mode and switch over to the KPI view, the formatting will remain, and vice versa.
Formatting is stored at the view level, meaning any applied formatting must be saved to a view. When adding blocks to a board, its important to select the correct view that has the desired formatting applied to it.
How to apply formatting?
You can apply formatting in two ways. Both ways require you either to open the block or to be in the expanded view from a Board. Select the cells or header you want to apply formatting to, then right-clicking and select Format Cells. This will open up a pop-up with formatting options. You can also open up the Format panel by clicking Format at the top. This option allows you to select the cells or headers you want to apply after. Once opened, you’ll see a Static and Conditional heading, this article will focus on static. To learn more about conditional formatting, check out this article.
Formatting specific cells
You can also use all the display options for a specific cell.
Right-click on the cell you want to format and you will see all the options available. If you want to select more than one cell, hold down Command / Control key and you can select more than one cell. Once you select the formatting options, these cells will start pulsing to indicate which have been selected.
Formatting headers
You can also format grid headers. When you click on a header it will select the corresponding column(s)/row(s). Right-click on it and select "Format cells". By default, the selection will be Cells. To also apply this formatting to headers, check the Header option. You can also select “Whole Row/ Whole Column” to include both cells and header.
Formatting multiple Blocks at the same time
You can use Control/Command + Clicking to select multiple Blocks at the same time to apply consistent formatting to all of them. You can also select the a header and choose Every instance of my selection option to format multiple instances of an item within a grid. For example, if you have a table that uses a country dimension in multiple Metrics, if you highlight a particular country and select Every instance of my selection, it will format every instance that country appears, even if that item is not visible at the time.
Using a Suffix for easier entering of multiplied data
Formatted cells that have a multiplier, such as billion, can be combined with a suffix to make it easier for Members to enter data. Members can simply enter a number combined with the suffix and Pigment will automatically apply the multiplier.
For example, if I have a cell with a thousand multiplier and a k suffix, I can enter 5k and the value will be entered as 5000.
This works with any multiplier and suffix combination.