


Groups make it easy to control access to Applications across your entire organization. Groups empower security admins to easily grant roles to Members to multiple applications from a centralized location. This article discusses how to use the Groups functionality.
Table of Contents
What are Groups?
Groups is a security feature that allows Security admins to combine multiple Members into a Group and assign them roles across an entire workspace. Once Members are added to a Group, they can be given roles to multiple Applications. Members can be added to multiple different Groups to be able to adjust to your security requirements.
Benefits of Groups
Groups makes it easy to assign, track, and maintain users roles across the entire workspace in on centralized location without writing any code or formulas. Quickly add access to new applications for multiple people in a few clicks. When a new Member joins your team, you can add them to a Group for access to all relevant applications for their team.
How do Groups work?
There are two elements to Groups, the Members that are part of the Group and the access or roles that are assigned via that Group. As a reminder, Roles define the access, actions, default Board access, and Access rights settings within an Application.
When a Group is created, there are two steps. The first step is defining which Roles for different applications should be included in the Group. When thinking about how to categorize your Groups, its important to think about which Members will require the same access across multiple applications.
Members can only have one Role per application so when thinking about how to structure your Group, if you feel there are two different roles you want to assign within that Group for members, you will need to break that Group down. Members can be part of multiple Groups so don’t worry if certain members access does not fit all into one Group.
For example, if I wanted to create a Finance Group, but I wanted some Members to be Admins in an Application and others to be Readers, I would need to create a Finance- Admins Group and a Finance - Readers Group.
After defining the roles and applications to be part of a Group, the next step is adding Members. Members must first be invited to the workspace before they can be added to a Group.
Creating a Group
- Open Settings from the workspace sidebar, not from within an Application.
- Click Manage members.
- Navigate to the Group tab near the top.
- Click the + Create a Group button.
- Name the Group and add a helpful description for easy management.
- Set up application access. Choose applications and roles from the dropdown. Click Add for each.
- Set up Members by using the dropdown, after selecting click Add to confirm. They must already be added to the workspace before they can be included in a Group.
- Click Create to finalize the Group creation.
The Applications and Members included in a Group can be adjusted and edited at anytime.
Editing a Group
- Open Settings from the workspace sidebar, not from within an Application.
- Click Manage members.
- Navigate to the Group tab near the top.
- Hover over the Group and click the pencil icon to edit.
- To adjust application access, Use the dropdown icon to see all current applications. Click the X next to an Application to remove it from the Group. Choose applications and roles from the dropdown. Click 'Add' for to add new Applications.
- Use the dropdown icon to see all current Members. Click the X next to a Member to remove them from the Group. Choose Members dropdown and click 'Add' for to add new Members.
- Click Save to finalize the Group edits.
How do Groups work with existing application Role configurations?
There are two other ways to assign Member’s roles, either by manually assigning each role or by using a formula to dynamically assign members roles. Applications where the roles are assigned by a formula are not compatible with Groups. Applications where users are manually assigned roles can use the Groups feature.
Manually assigned roles
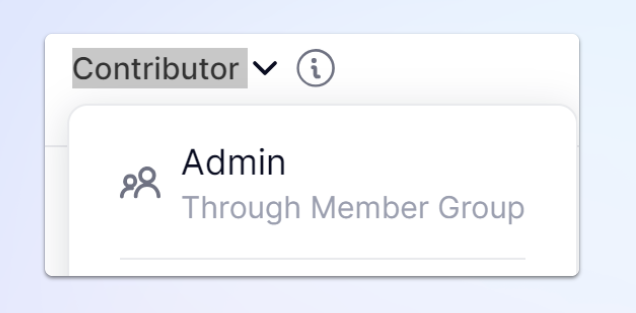
If a Member already has a role in an application they will not be impacted by any Group configuration by default. However, you can adjust the user’s role to be controlled by the Group configuration for that application by changing their role to the one at the top labeled “Through Member Group” once part of this Group, they will be included in any updates.
Roles assigned dynamically using a formula
When an application is assigning roles via a formula, it is not possible to use the Groups functionality for that application. Depending on the complexity or future plans for the application, you might want to switch over to Groups for easier maintenance.
If you already have existing applications where roles are being assigned through a formula, you will not be able to add roles from that application to be managed via Groups. You have to remove the formula from the Users Role metric of that application first before you are able to proceed with using Groups to assign members to the application roles.
We highly recommend using Groups to manage access to multiple applications as it allows for easier management, instead of using a formula. However if you need to switch the application role assignment back to being assigned dynamically using a formula, you can use the Assign Roles dynamically option in the ... dropdown next to the Invite Members button in the application’s Roles, permissions & access page.
User groups roles (System) protected metric
When you use Groups to assign application roles, you may see a new Metric appear in the Security folder of your application called “User groups roels (System)”. This is a protected metric, meaning you will not be able to make any modifications to the metric (e.g. updating the formula, renaming, etc.). This is because it is a Pigment-generated system metric for managing the Role assignments through the Group. In order to remove this metric, you will need to switch the application role assignment back to being assigned dynamically using a formula (as described above). This will remove the metric from appearing in the folder.
What happens if a Member is assigned two different Roles?
If a Member is assigned two different Roles through Groups, it will be flagged as a conflict. A conflict is when a Member is part of two different Groups and each Group has a different Role for an Application.
For example, if a user is part of Finance Modeler Group and a Finance Admin Group and the Finance Modeler Group gives him a Modeler role for an Application and the Finance Admin Group assigns an Admin role, this will result in a conflict.
When there is a conflict, no role will be assigned to the user in the impacted application.
Where to identify conflicts
Conflicts are identified directly from the Groups page or can be seen from within the Application where the conflict exists. When you see the yellow warning at the top, you can click Review Groups to identify which Groups contain a conflict.
| Within Groups When you see the yellow warning at the top, click Review groups to identify which Groups contain a conflict. Click View details, then Members to view the Role issues. | 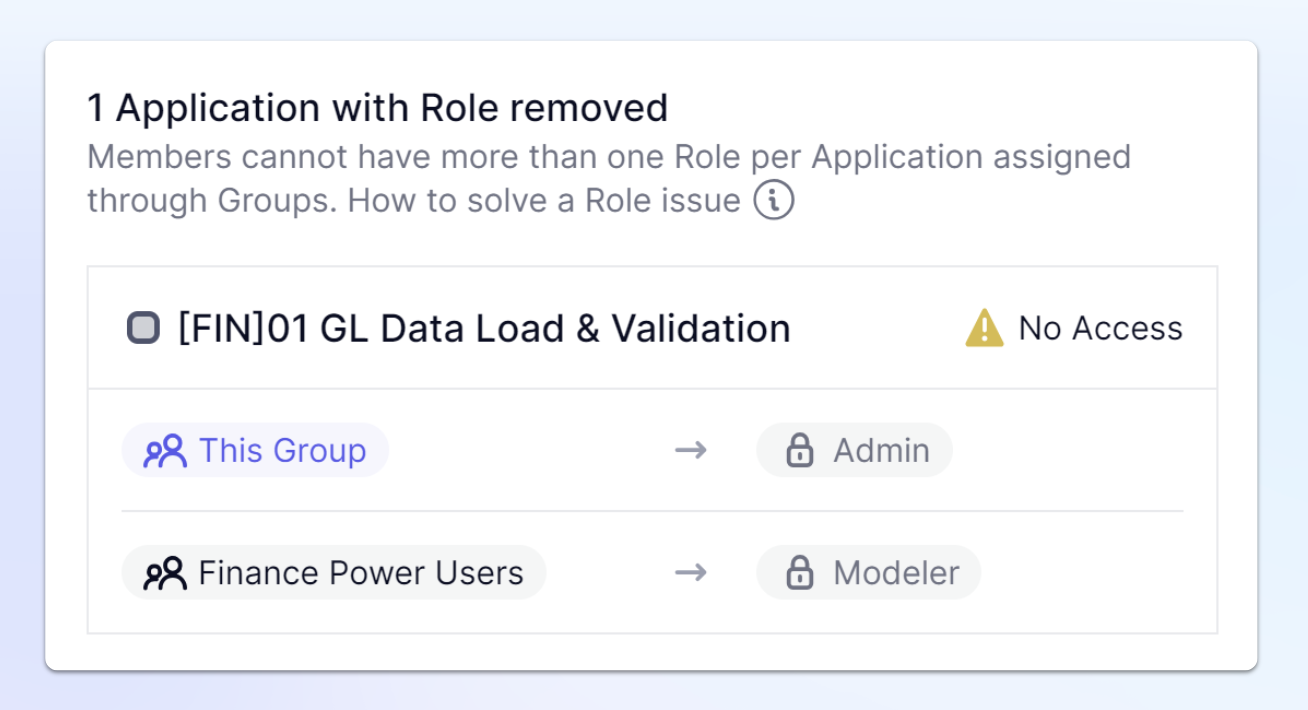
|
| Within Applications When you see the yellow warning at the top, click Review Members to identify which Members contain a conflict. | 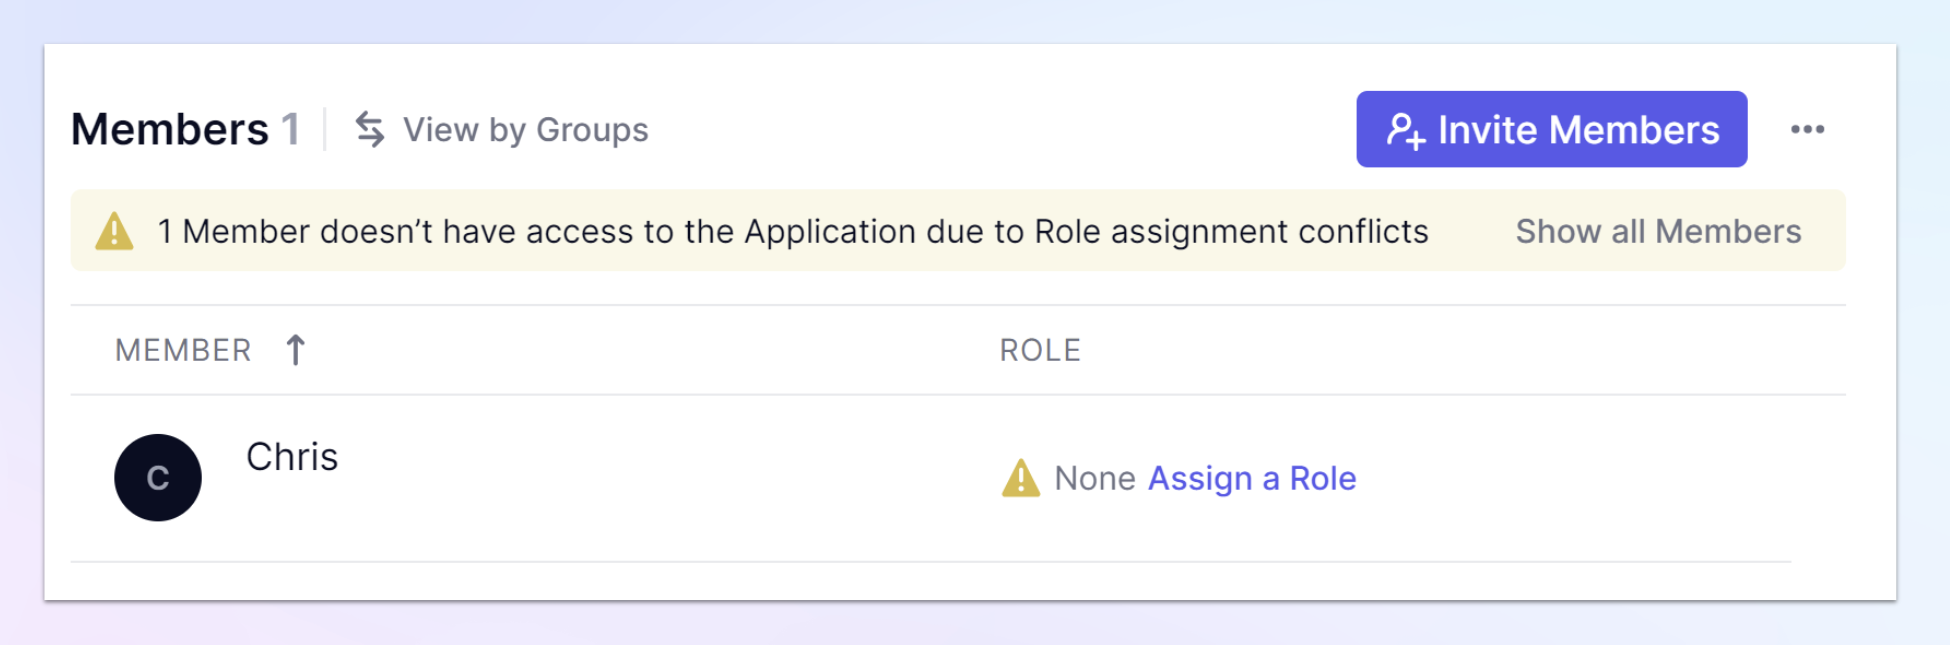
|
How to fix conflicts of two roles assigned via a Group?
When there is a conflict there are three different ways to fix it: adjust Applications in the Group, adjust the Member in the Group, or manually override the Group by assigning the Member a role.
Adjusting the conflict by adjusting the Group is the best practice. This will make maintenance easier as any existing adjustments to the Group will impact the entire Group.