


This article explains how to connect Xero with Pigment to retrieve Xero’s General Ledger data into a Pigment’s block.
Table of Contents
As with all other native Pigment integrations, you’ll first need to configure a Connection in the integration Library page. Once configured, this connection can be used by any Application that is authorized as a data source. These authorized Apps are defined during the ‘Import Data’ configuration step. Now, let’s see how to configure and use this native integration!
Prerequisites
You need to be a Pigment Workspace Admin to be allowed to configure the connector.
Setting up the Xero Connector
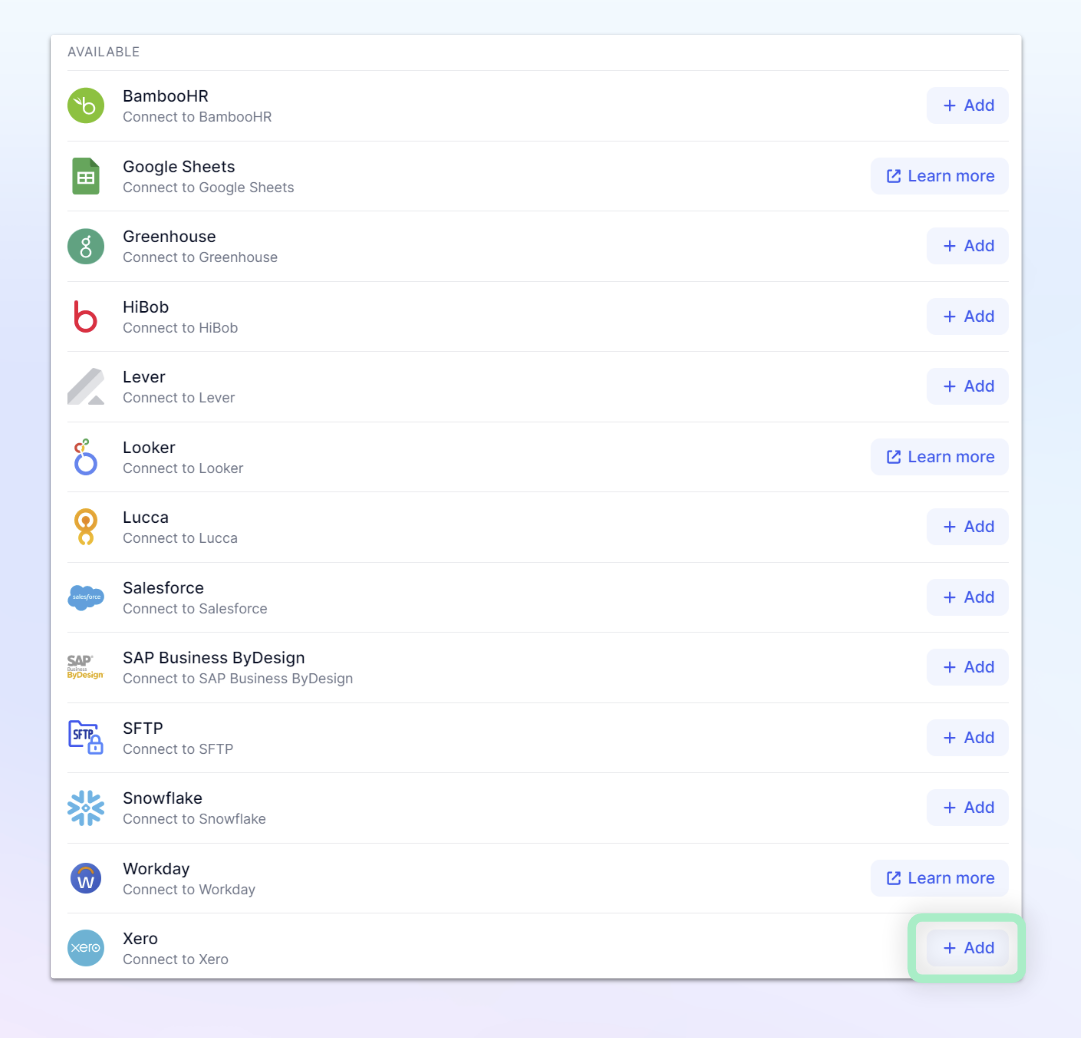
Within Pigment, navigate to the Integration page from your Workspace homepage, and click on + Add on the Xero integration.
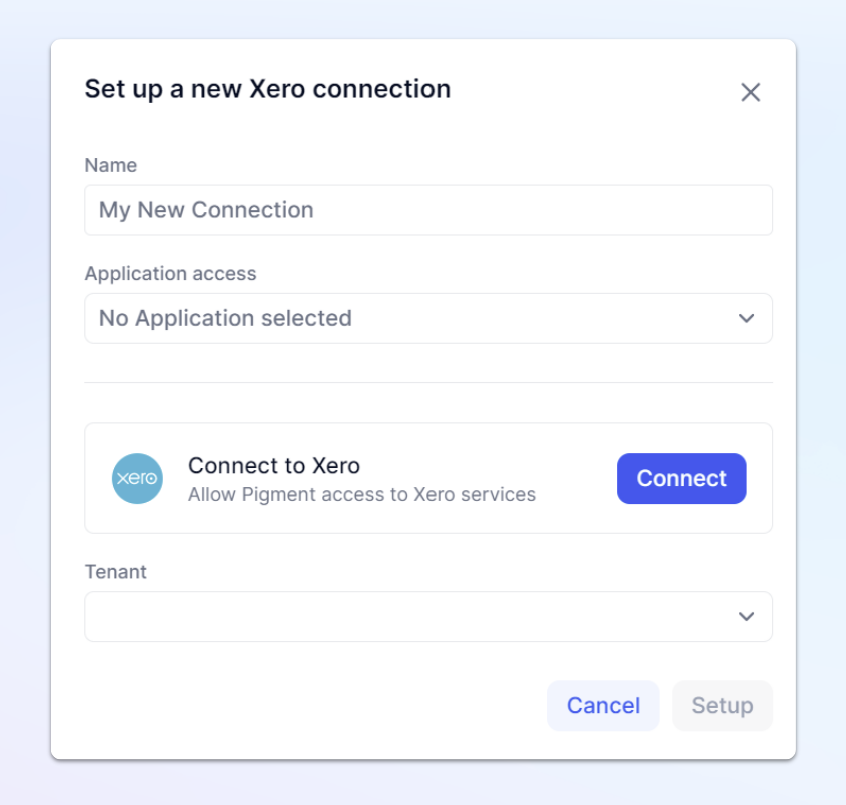
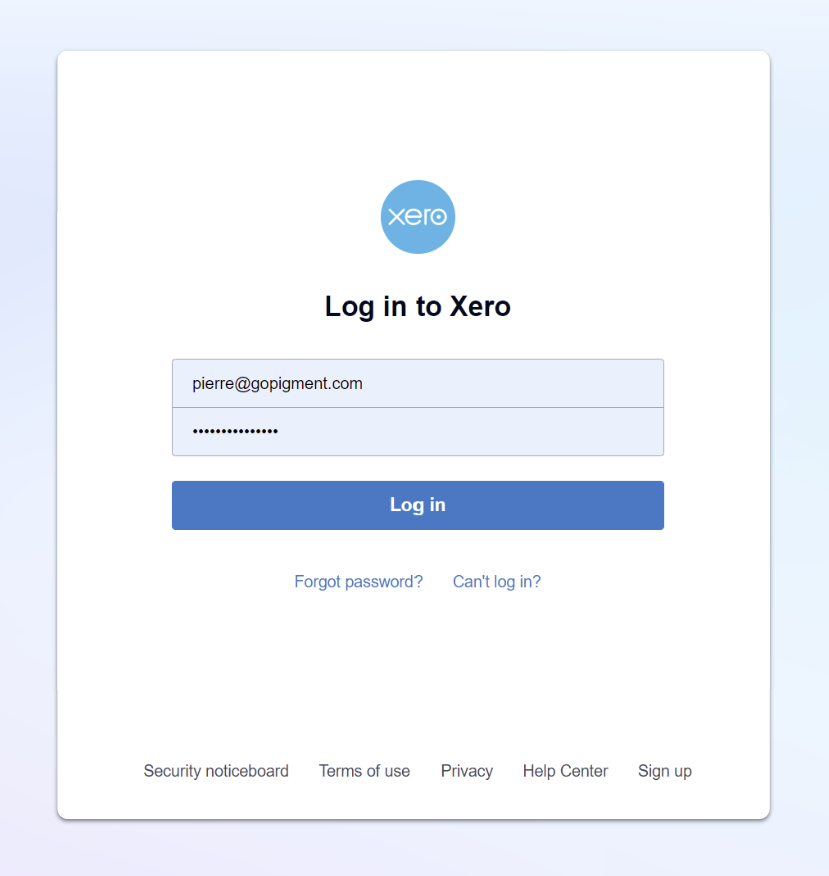
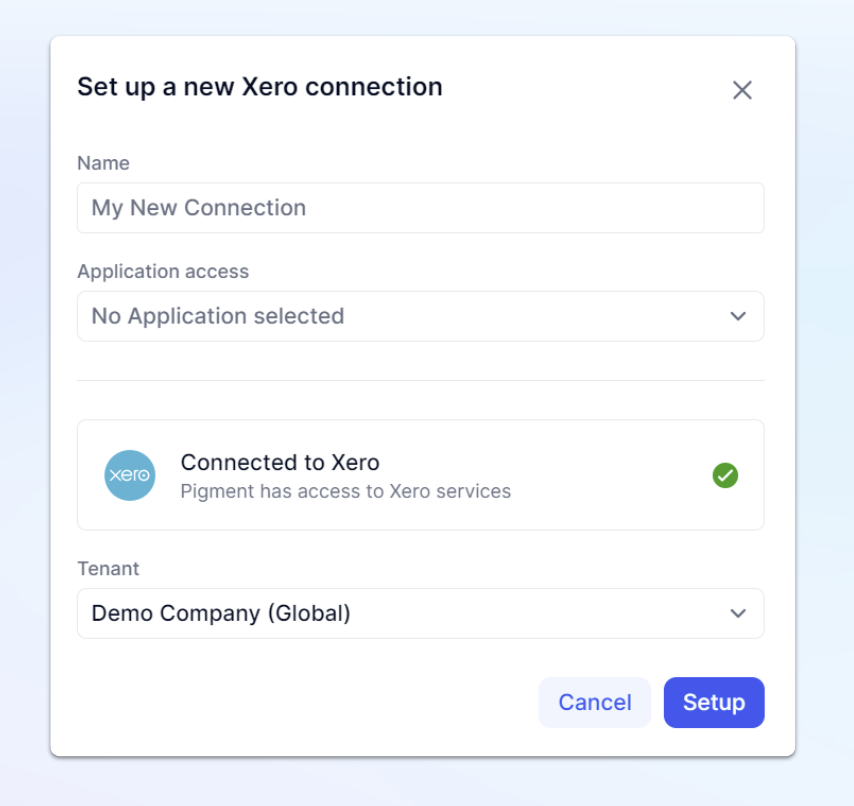
Xero connector is using the OAuth authentication system. Click Set up a Connection and then on Connect.
| 
|
| Select the Organization you want to connect with Pigment. Then click on Allow access. | 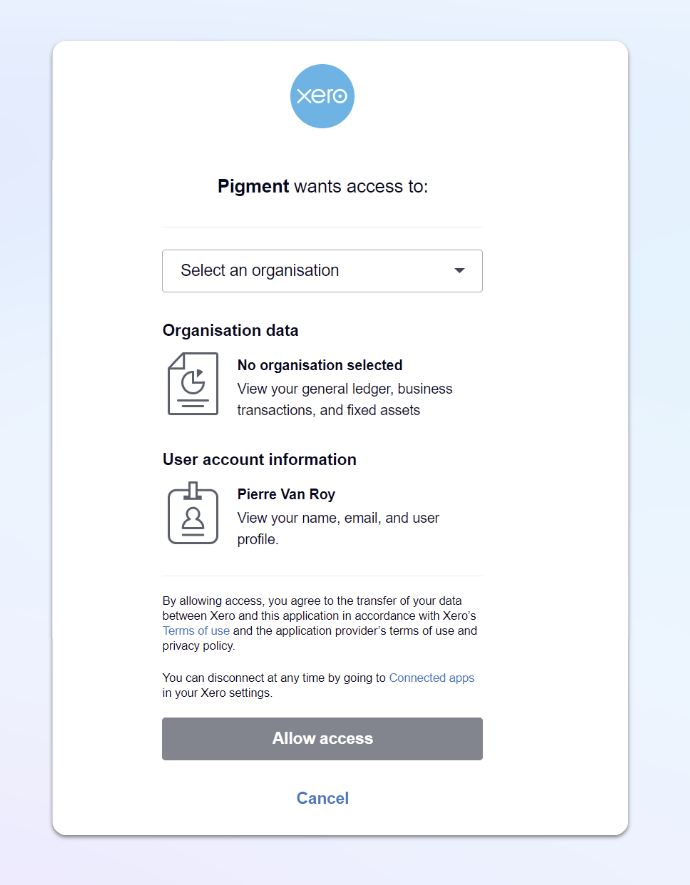
|
| Next, fill the following 3 fields:
| 
|
Note: Xero is a multi-tenant system, one account can have access to multiple organizations/tenants. If you want to connect with multiple Tenants, you will need to configure one Pigment connection for each individual organization/tenant.
Loading Xero’s data into Pigment
Once the Xero Connection is configured, open an Application that the connection is available on and open the “Import Data” interface for the object you want to import data into. For example, if you were importing data into a Transaction List, you would open up the list and then select Import and Download and then Import.
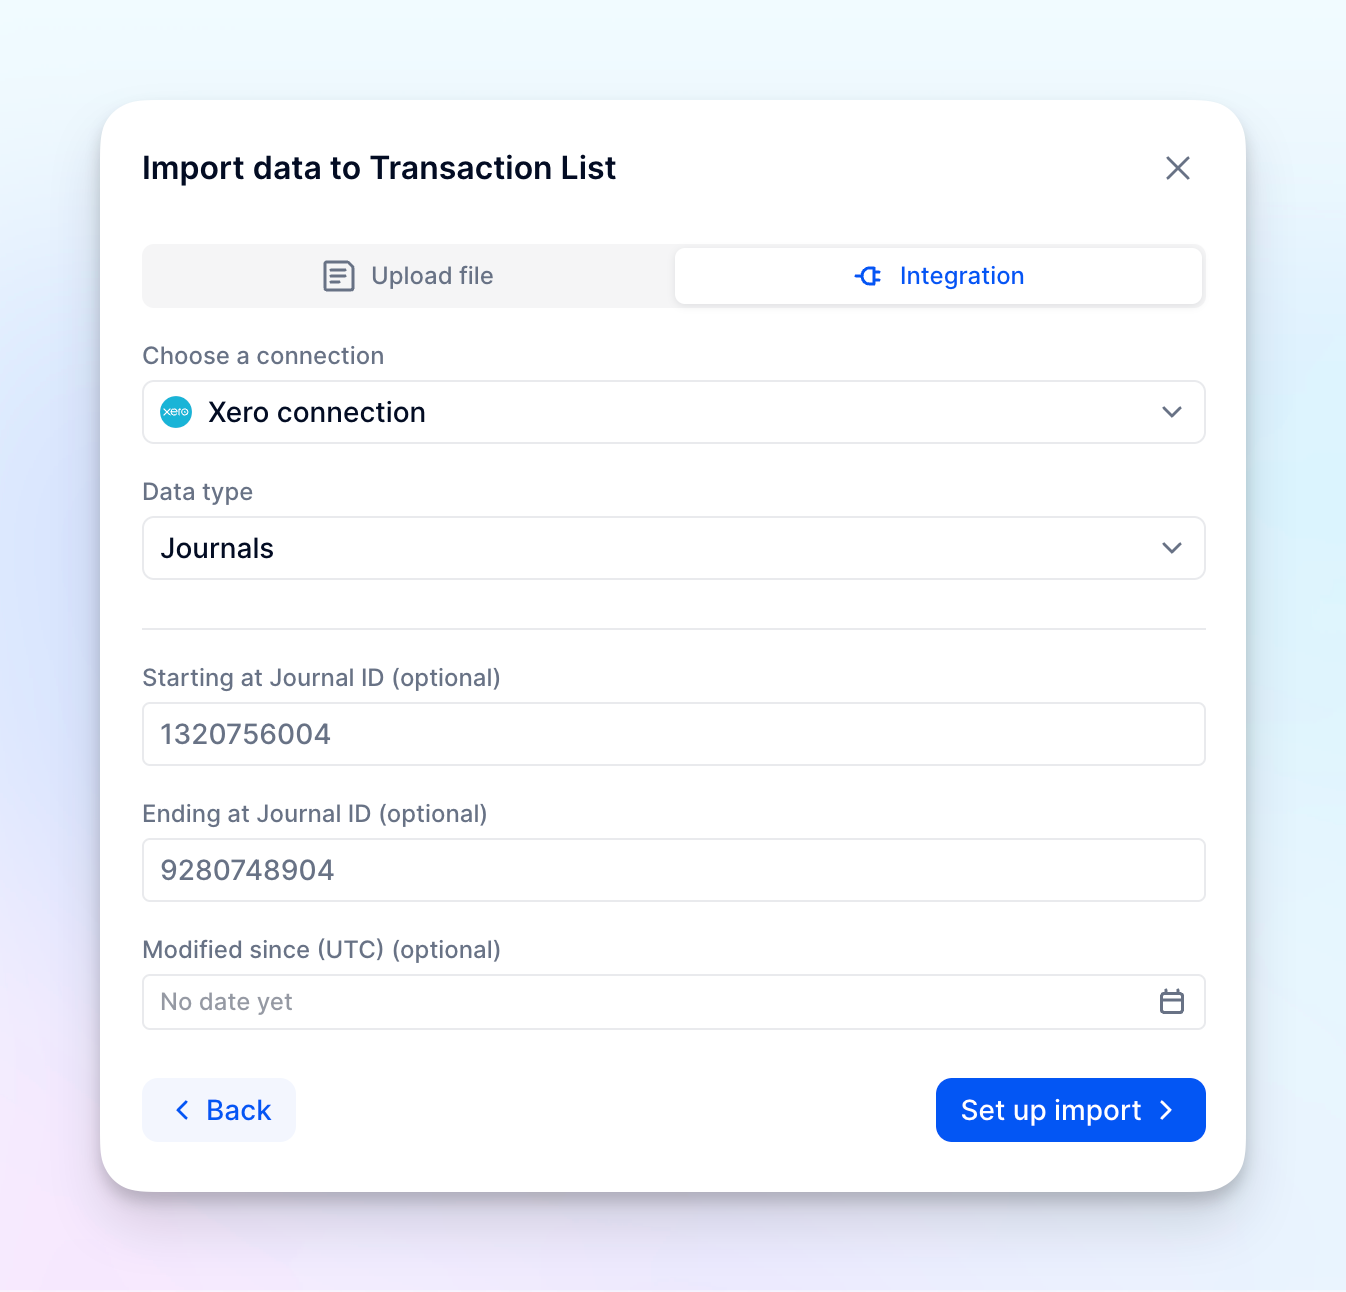
Instead of “Upload file”, select the Integration option. From here, select your Xero Connection.
Note
If you do not see the connection, navigate back to the Integrations page, and verify that the Application is on the Application Access list.
| 
| 
|
The connection enables loading 2 types of data from Xero:
- Journal/General Ledger data from Xero Journal API. For this data type you have several filtering options:
- Starting at Journal ID: only retrieve Journals with an ID equal or higher than the provided one
- Ending at Journal ID: only retrieve Journals with an ID equal or lower then the provided one
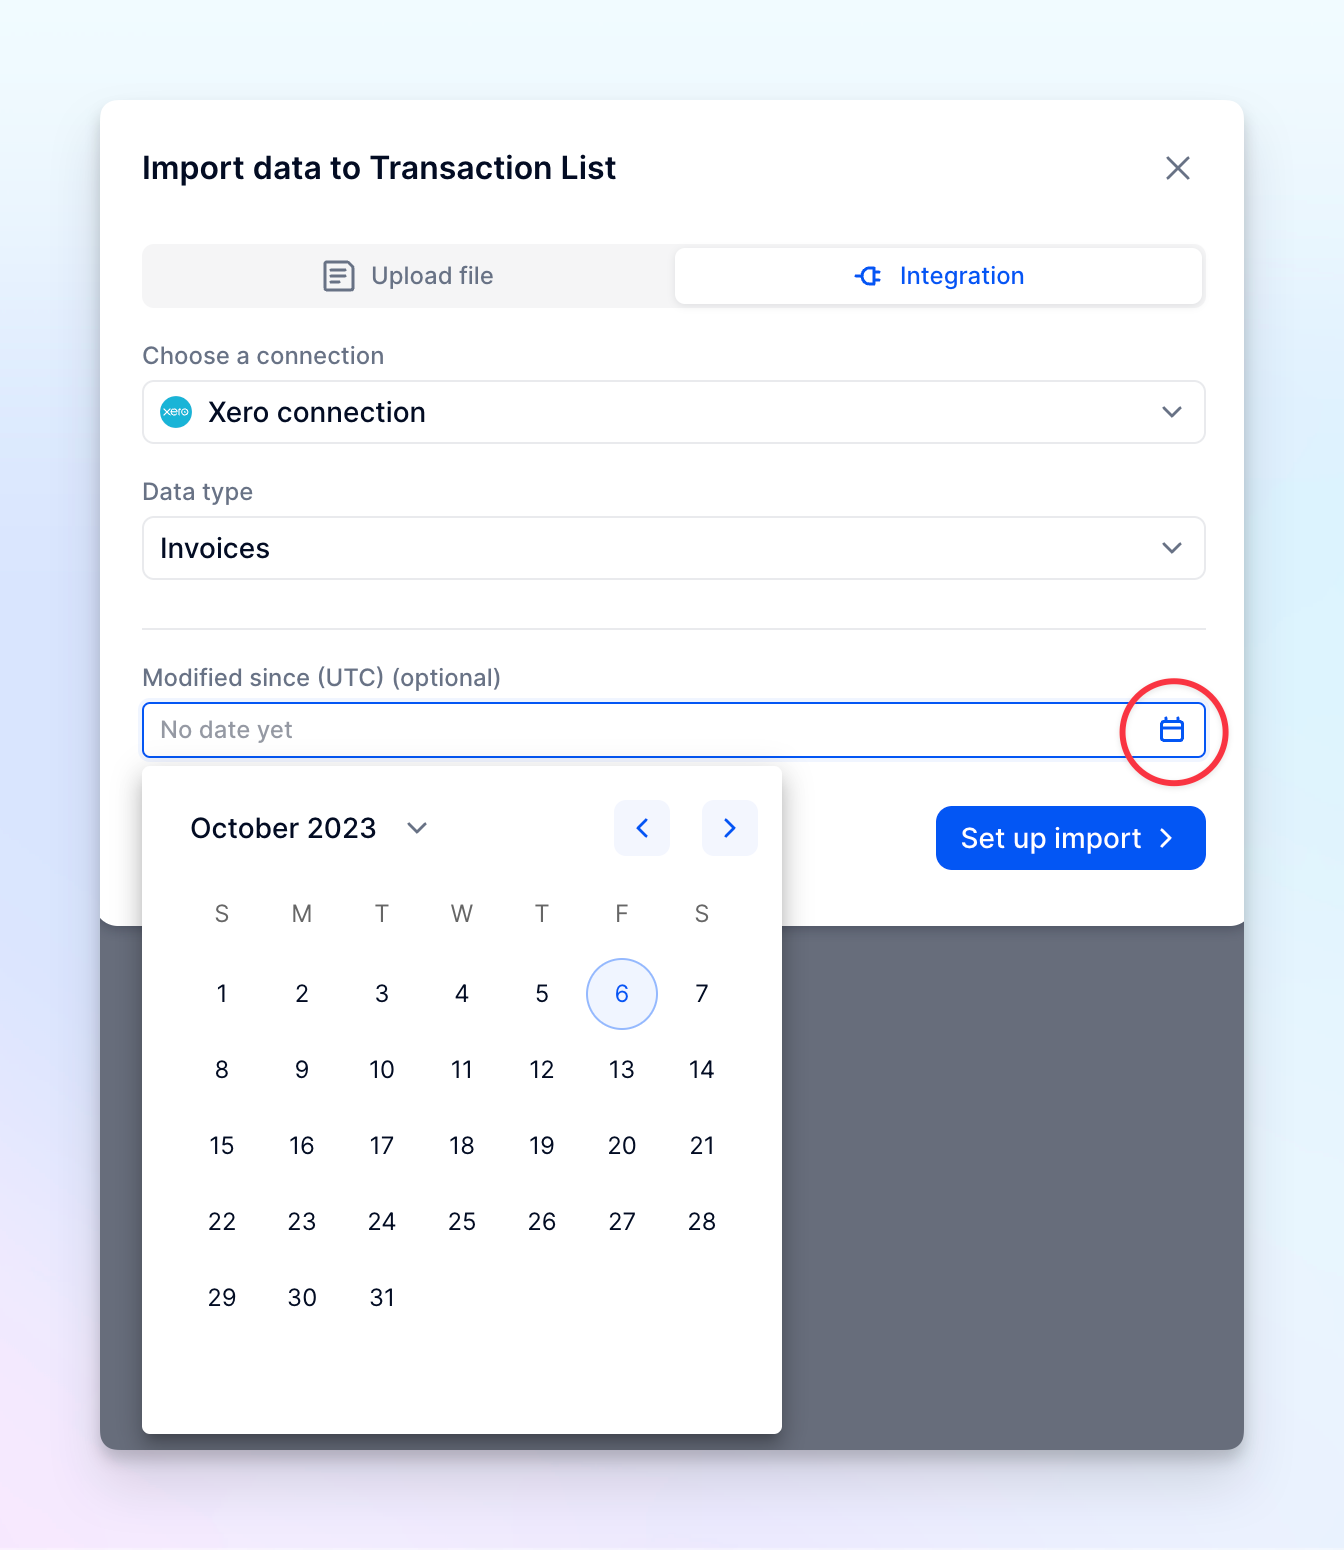
- Modified since: only retrieve Journals which have been modified on or after the provided date
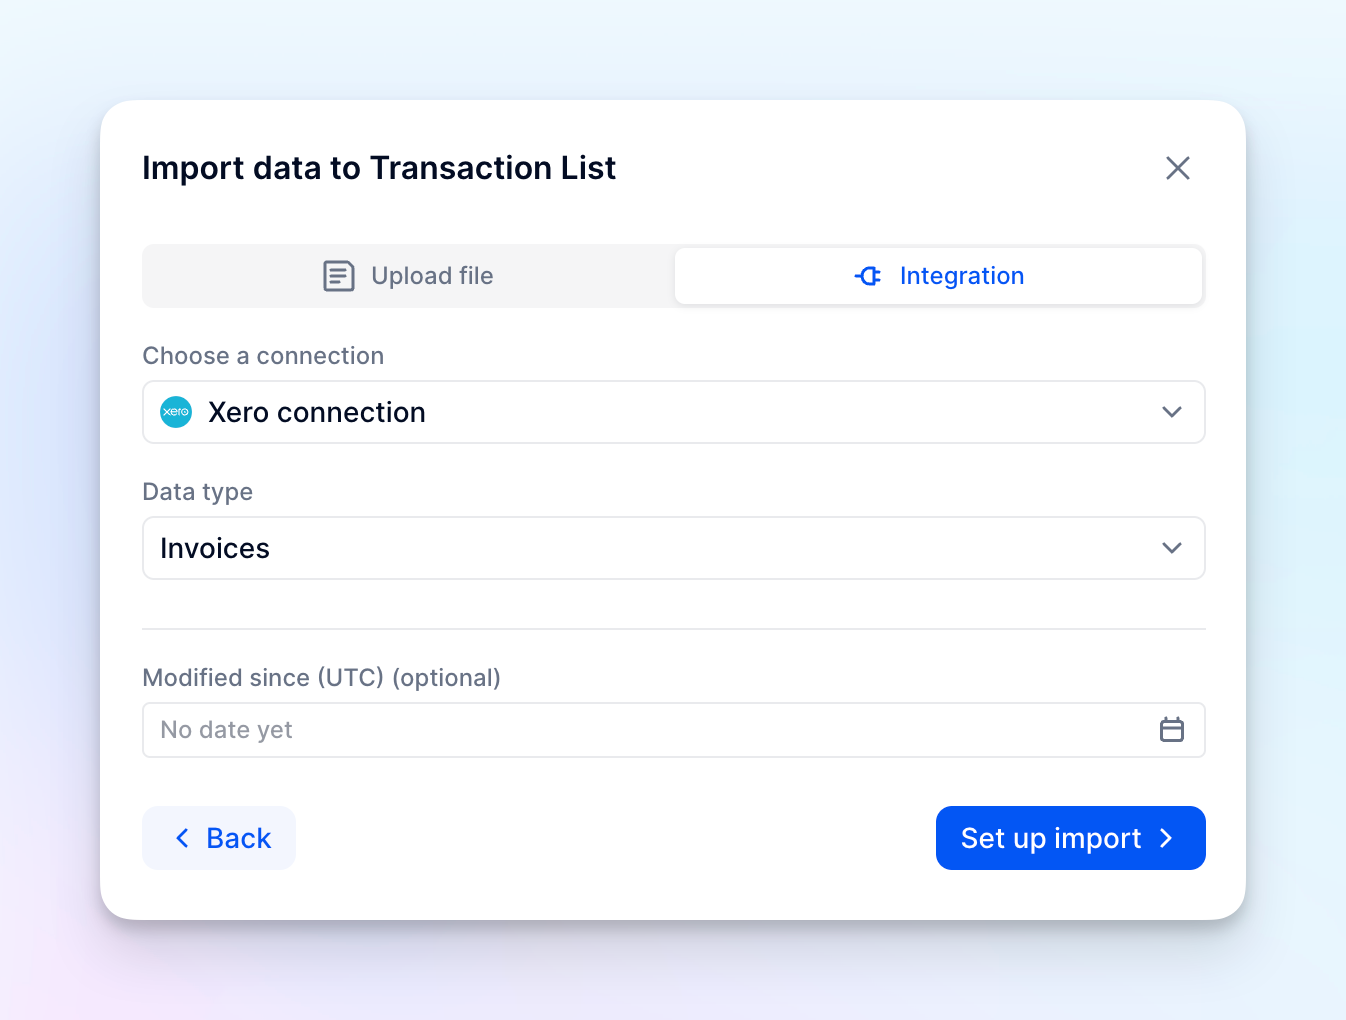
- Invoices from Xero Invoices API. For this data type there is a single filtering option:
- Modified since: only retrieve Invoices which have been modified on or after the provided date
All filters are optional: if you don’t specify any filter, by default Pigment will load all journal or invoice data. If you provide a only some filters, Pigment will take these into account and not filter based on the other options.
Filtering is useful to limit the data loaded which can lead to performance improvements and overall more efficient and scalable imports. Xero has fairly low limits for daily API usage, so adding filtering can help you stay within Xero’s quota.
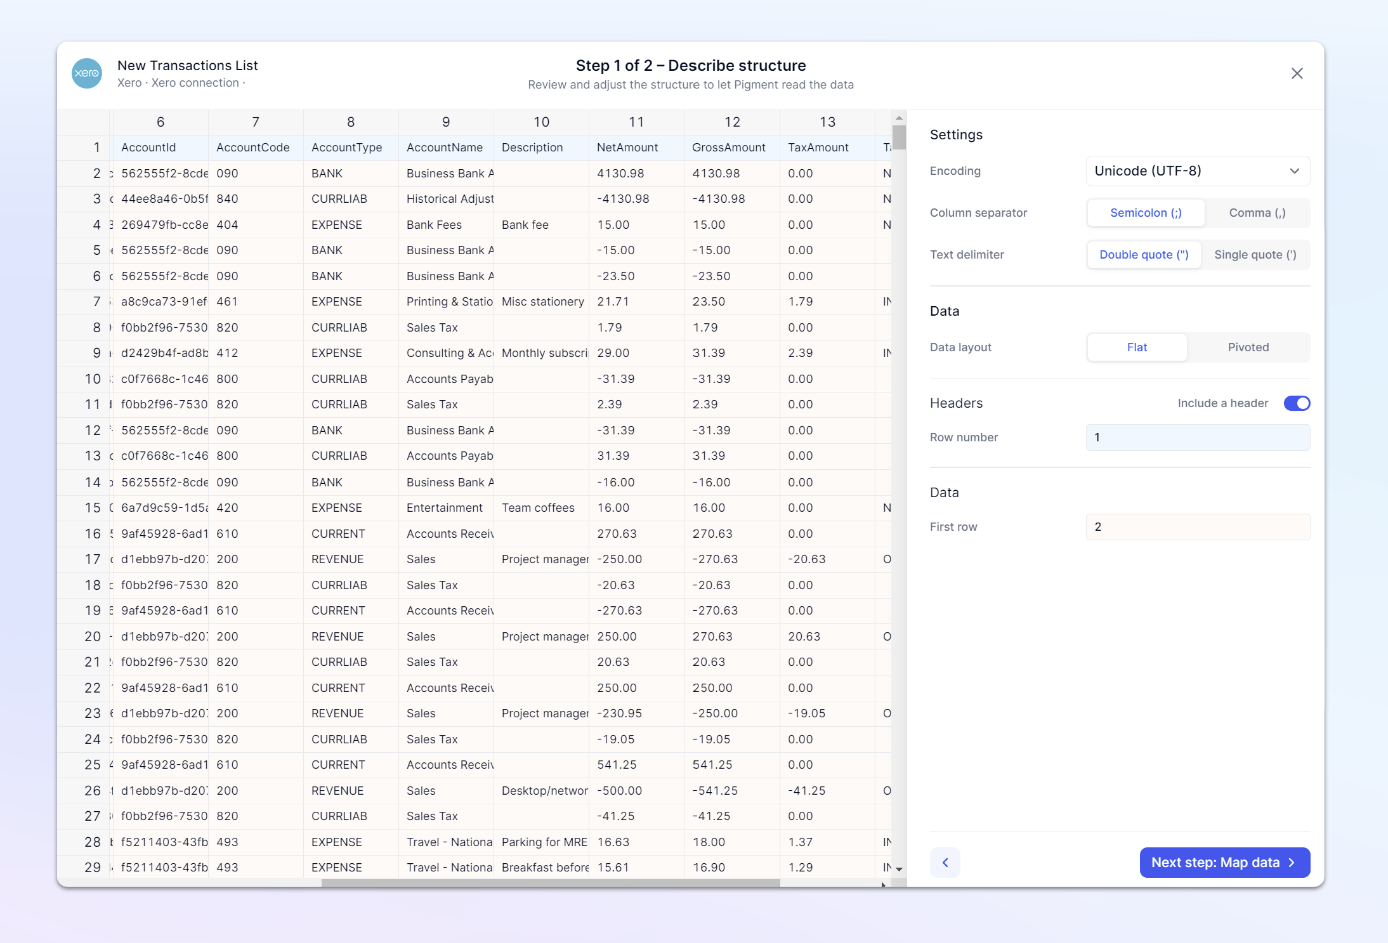
Now you can just click on Set up import and continue through the standard import flow.
How do I find the Journal ID?
Use the following steps from Xero to find the Journal ID.
Run the report
- In the Accounting menu, select Reports.
- Find and open the Journal Report. You can use the search field in the top right corner.
- Select a Date range or click the arrow next to the date to choose a set reporting period, eg This month or This quarter.
- Select any other options you want the report to show.
- Click Update.
Customize your report
Use the settings and filters at the top of the report to customize it.
- Choose which Columns appear on your report, such as Account Code, Description and Journal ID.
- Order by either Journal date or Journal ID:
- Journal date – the date on the transaction. For example, the payment date on a spend money transaction or the invoice date on an approved invoice. Transactions appear from oldest to newest.
- Journal ID – the system ID assigned to the transaction. Transactions appear from newest to oldest based on when they were entered/posted in Xero.