


Ashby is an Applicant Tracking System. It helps companies manage company job postings, resume screening, interview scheduling, and job offers. This article explains how to connect Ashby with Pigment to import your hired applicants into a Pigment block.
Table of Contents
Important note
You need to be a Pigment Workspace Admin to configure the connector.
How does the Ashby connector works?
The Ashby connector imports data from all hired applicants into Pigment. This is done by securing an API key from Ashby, establishing a connection to Pigment, and then importing into the selected block.
When running an import from Ashby, the import contains all hired applications and certain default fields and allows for selection of custom created fields.
These are the default fields from Ashby:
- Application ID
- Employee name
- Department
- Job ID
- Job title
- Target start date
- Actual start date
- Salary
- Salary currency
Custom fields can be selected when setting up the import.
Establishing the connection between Ashby and Pigment
A connection between Pigment and Ashby must be established before importing data into Pigment. The first step is to get an Ashby API token, this will be needed when establishing the connection within Pigment. After getting the API key, a Pigment workspace admin can set up the connection in Integrations page and establish which Applications can use the connector. The last step is setting up an import and selecting the connection.
Step 1: Generate an Ashby API token
To generate an Ashby API token a user must have their Role set to Org Admin
-
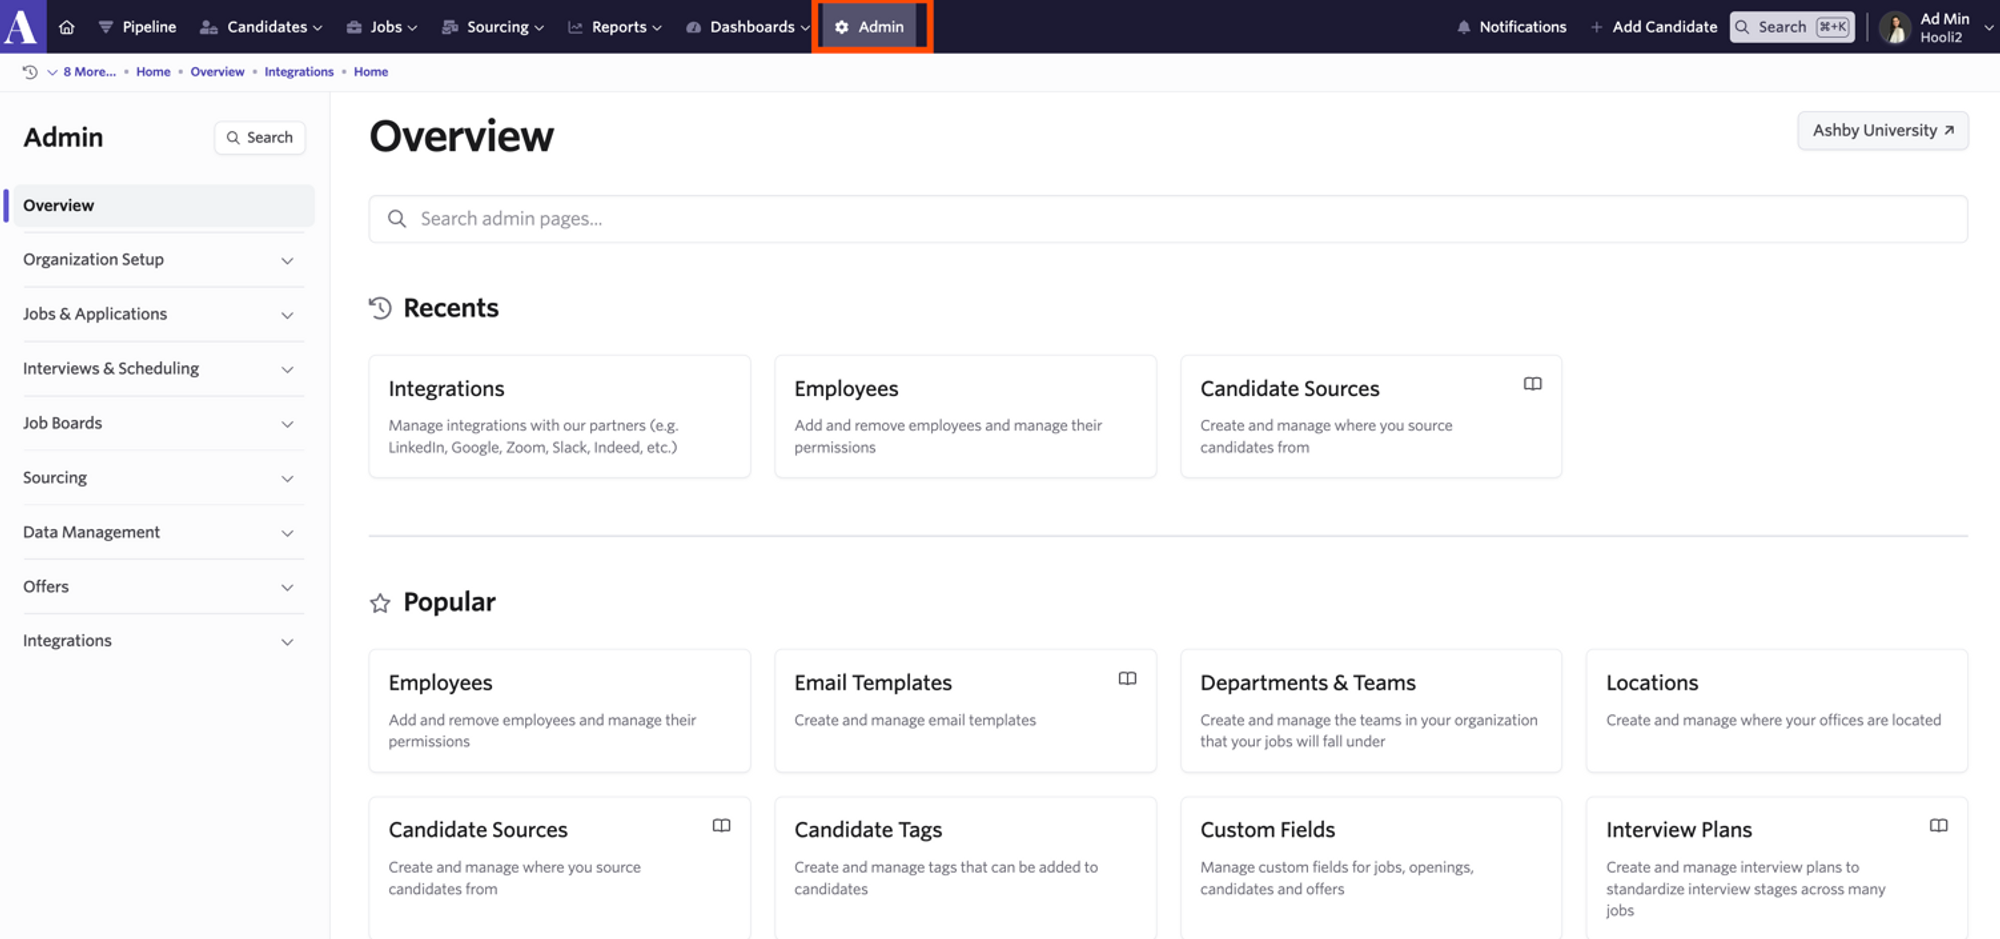
Sign in to Ashby and click “Admin” in the top navigation bar.
-
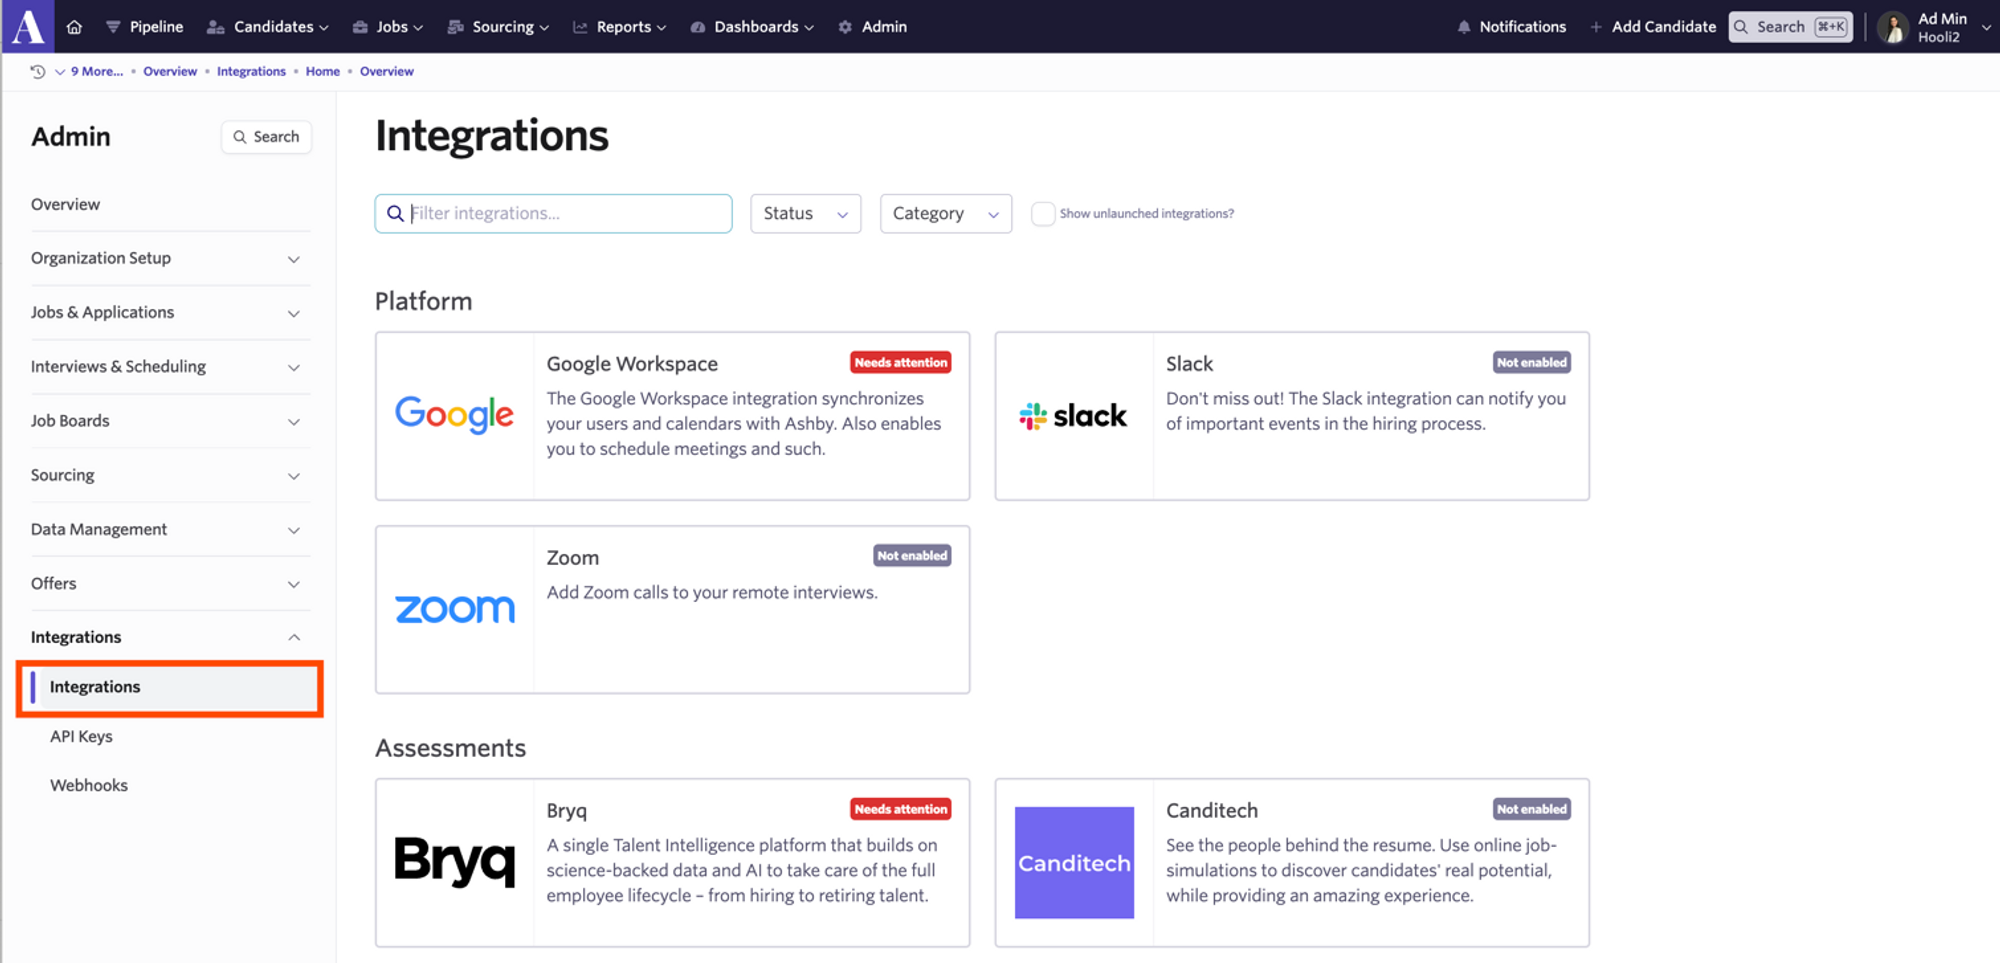
Next, click “Integrations” on the left panel of the screen.
-
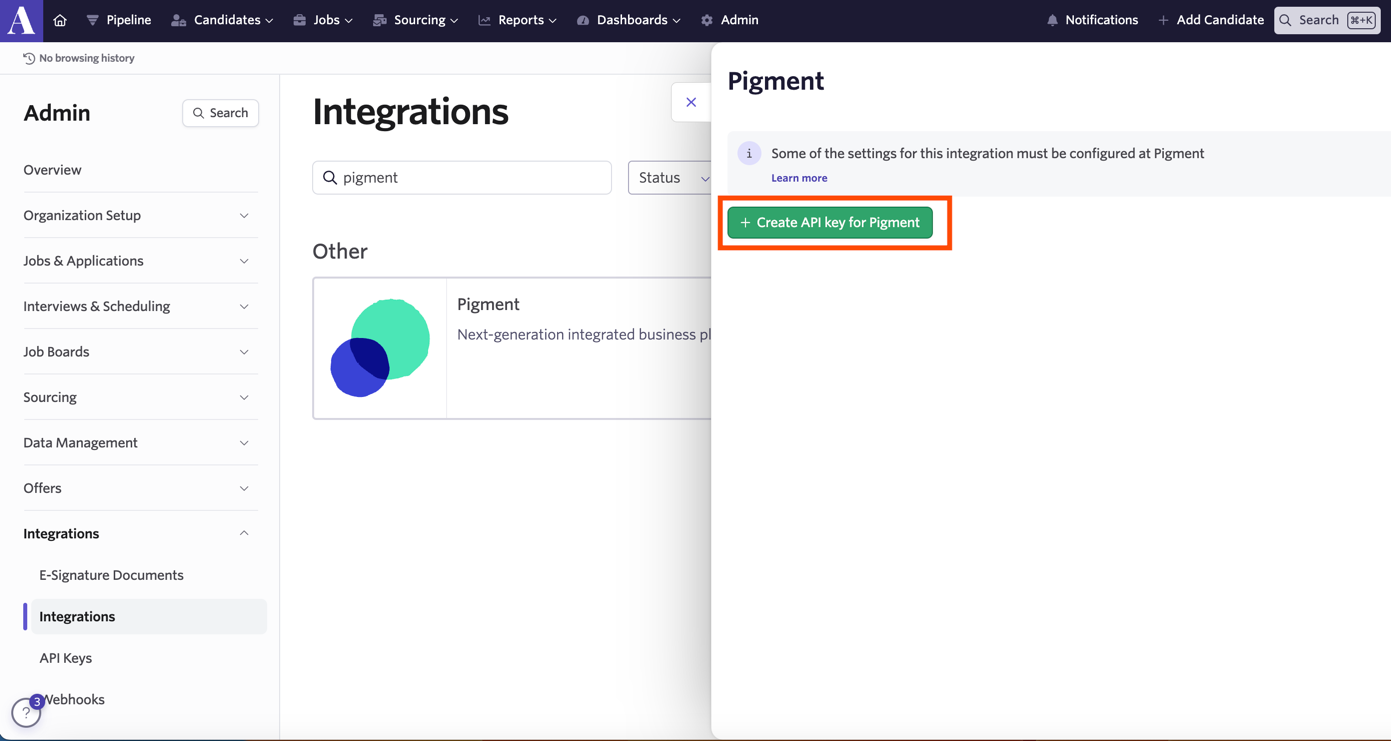
Search the Pigment integration and click “+ Create API Key for Pigment”. Copy the value provided. You could also save the key somewhere secure for future reference.
Step 2: Set up the Ashby Connector in Pigment
From the Workspace homepage, navigate to Settings → Integrations and click on + Add next to the Ashby integration.
Click Setup a Connection and then fill in the following 2 fields. These fields will remain editable if you need to add additional applications or rename.
- Name: give a name to your connection (ex: “Ashby connection”)
- Application Access: list of applications that will be allowed to use this connection
- API Key: the token you generated at the previous step
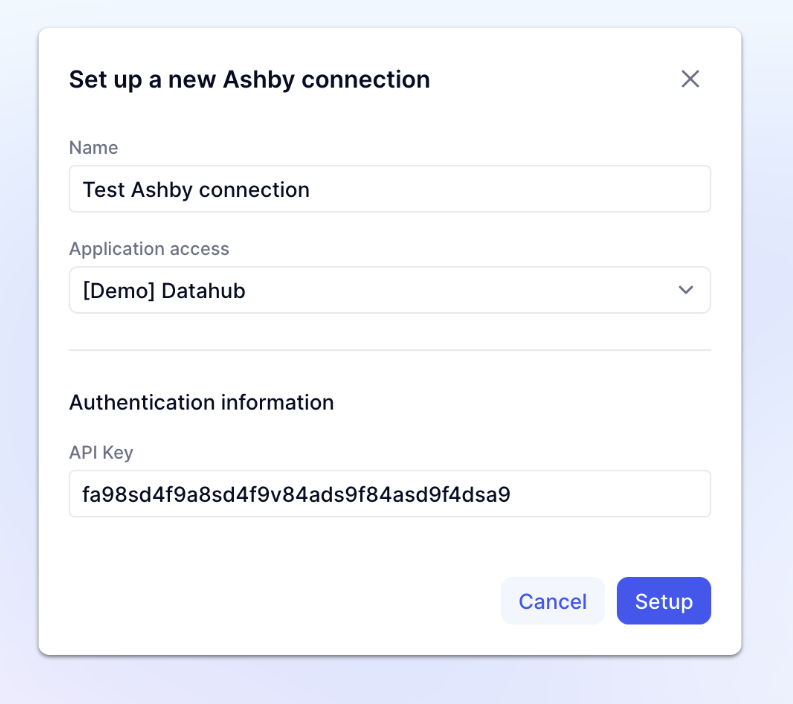
Click on Setup to finish!
Step 3: Load Ashby data into Pigment
Once the Ashby connection is configured, navigate to an Application where the connection is available.
From there click “Import Data” for the object you want to import data into.
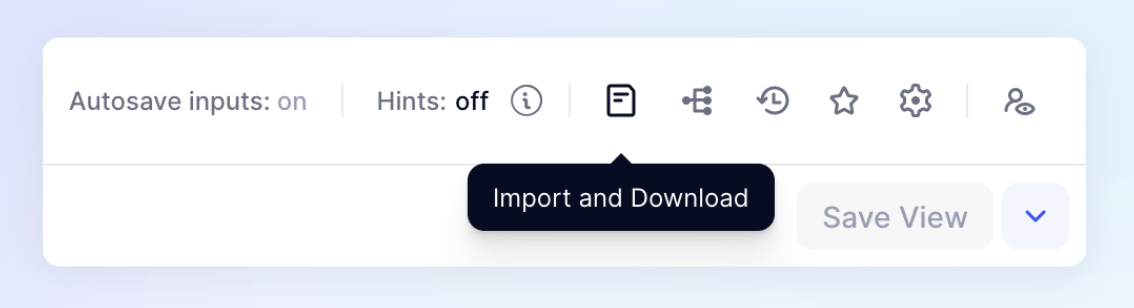
For example, if you were importing into a Transaction List, you would open up the list, then select Import and Download and then Import data.
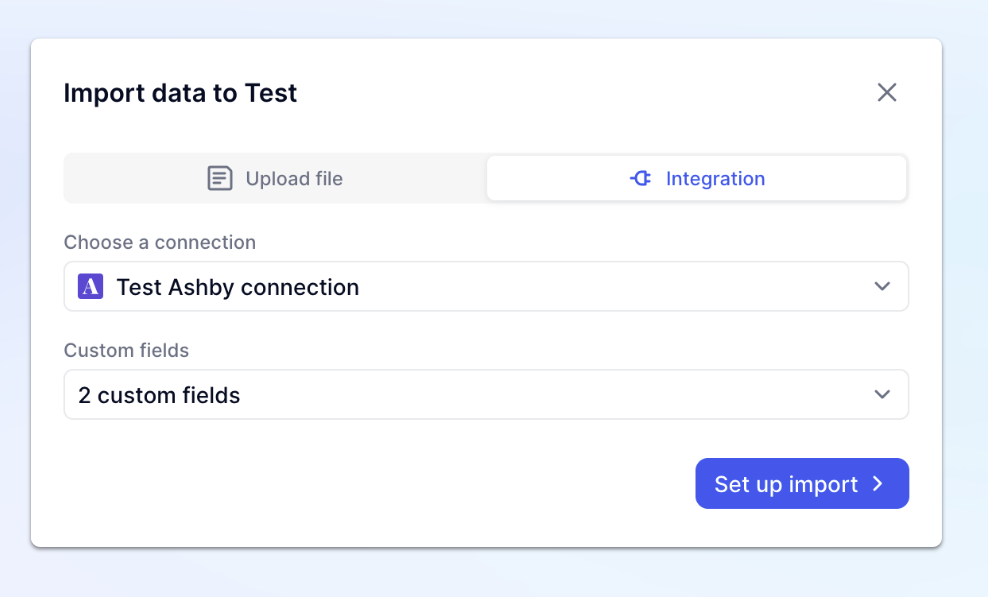
Click on the Integration tab and select the previously configured Ashby connection from the dropdown. Select the custom fields you would like to include, if any.
Each import will include all hired applicants with the following default fields from Ashby:
- Application ID
- Employee name
- Department
- Job ID
- Job title
- Target start date
- Actual start date
- Salary
- Salary currency
If you do not see the Ashby connection you have configured, make sure the current application is listed under the authorized applications for this connection. To fix this, go back to the setting’s Integrations page, and check that the Application is on the Application Access list.