


The Image Widget makes it easy to add your logo or styling to any Board. This article discusses how to set up images for your Boards.
Table of Contents
How can you use Image widgets?
Image widgets can be used to display images on a Board. They can be used to show company logos, or other images relevant to a particular Board. These images are static and can not be changed in the context of the Board.
The Configure Boards permission is required to set up an image.
Adding an Image to a Board
Users with the Configure Boards permission can add a Image to a Board through the following steps.
- Click the Edit Board button on the Board to which you want to add an image.
- Click + Add a Widget and select Image.
| 3. Fill out the following fields: Widget title (optional) - This optional field can be used to add text to the top of the left of the image Image URL - Add the url of the image. It must be directly to the image and be in a eligible format Image alt - This is a brief text description to provide a textual alternative to the image for users who are unable to see it. | 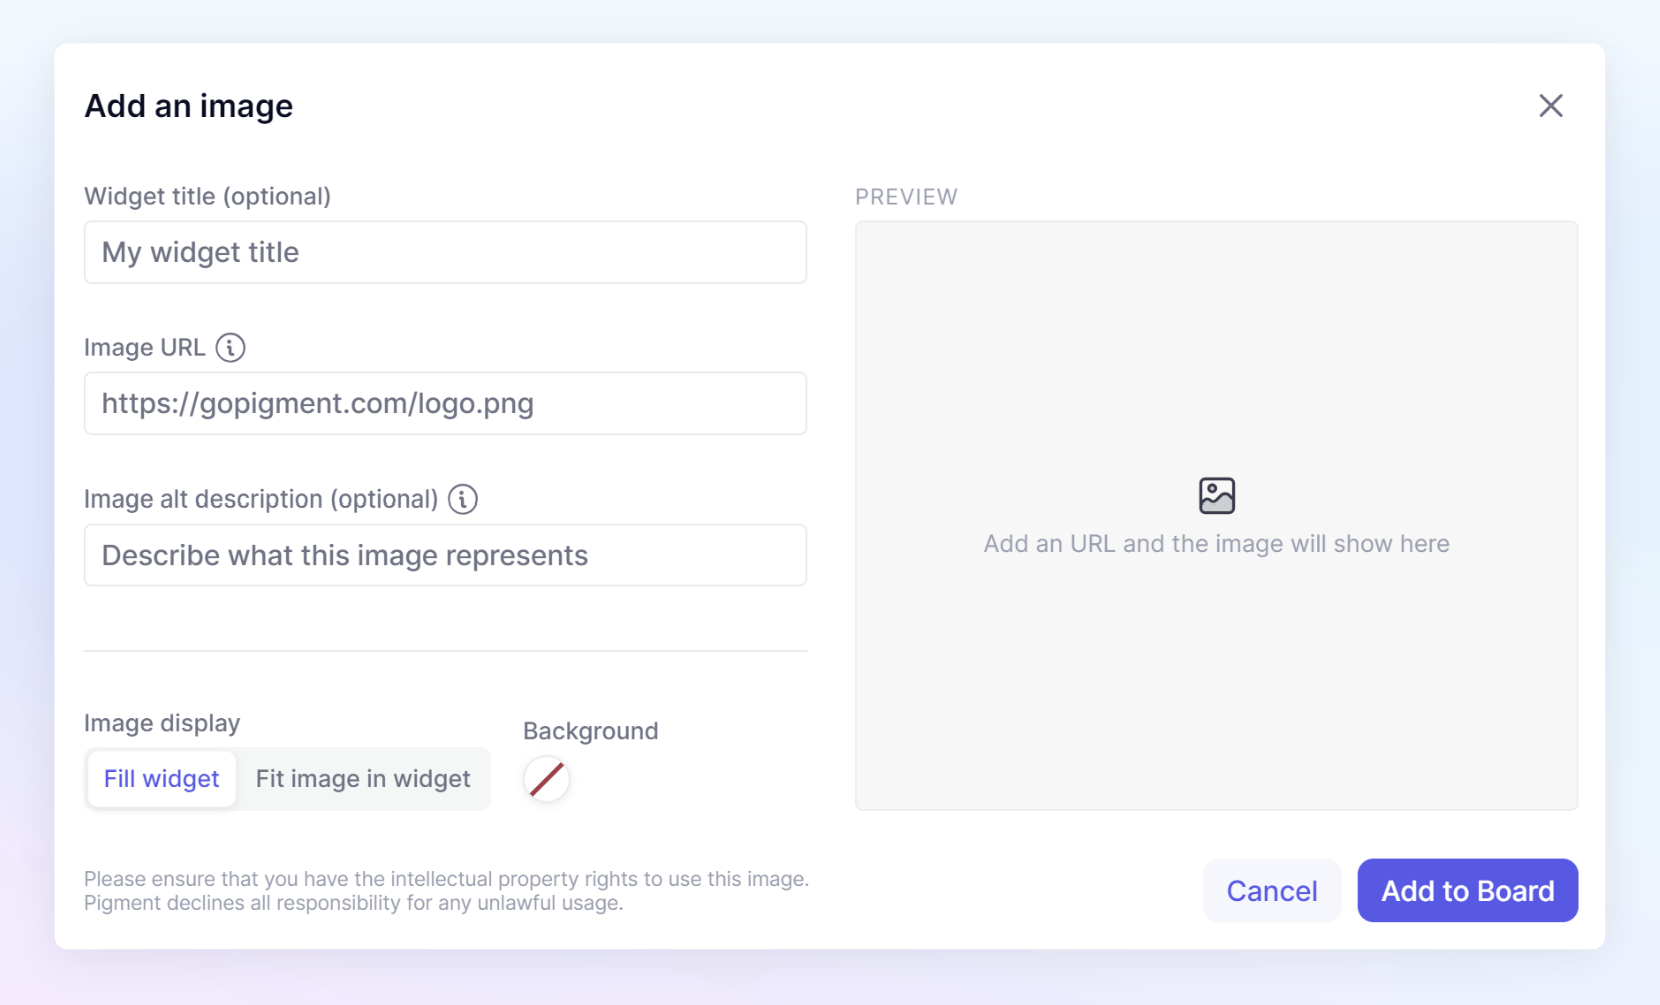
|
- Select the Image display mode of Fill or Fit.
- Choose if you want a background color. This will show if the image has a transparent background or if there is a border when choosing the Fit option. You can also use the Border toggle to turn off the border.
- Click Add and the image will appear in the top left of the Board.
What is the difference between the Image display options?
The Image display options, Fill widget and Fit image in widget control how an image is displayed within the widget. Here's the difference between the two:
Fill widget
- Image will be resized to completely cover the entire widget area.
- This option ensures that the entire widget is filled with the image, even if it means cropping some parts of the image.
- As a result, some parts of the image might be cropped out if the image and widget have different aspect ratios.
Fit image in widget
- image will be displayed within the widget while maintaining its original shape or aspect ratio.
- The image will be scaled to fit the widget's dimensions without distorting the image's proportions.
- If the image's aspect ratio differs from the widget's aspect ratio, there might be empty spaces (borders) on the sides of the image.
- These empty spaces can be left transparent or filled with a specified background color using the Background option in the widget settings.
How can I get an Image URL?
1. Open your preferred web browser and navigate to the website that contains the image you want to get the address of.
2. Right-click on the image. A context menu will appear.
3. Look for an option that says Copy Image Address, Copy Image URL, or something similar. The exact wording may vary depending on the browser you are using. Click on this option.
4. The image address is now copied to your clipboard. You can paste it anywhere you need to by pressing Ctrl+V (or Command+V on a Mac).
Please note that these instructions may not work on all websites due to certain restrictions or protections they may have in place.
Use the Preview window to see if the Image will display.
What formats of Images are supported?
The Image widget supports any format of image that is supported by the HTML IMG tag, some examples are listed below however this list is not exhaustive.
- JPEG (.jpg or .jpeg)
- PNG (.png)
- GIF (.gif)
- SVG (.svg)
- BMP (.bmp)
- WebP (.webp)
- APNG (.apng)
When using the Export to PDF functionality, images are not supported. The background color will be shown where the widget was located. If no background color is selected, it will be a white space.