


Dimensioned text is a type of widget that allows you publish a text Metric to a Board that displays as cards. This article discusses how to set up dimensioned text.
What is the Dimensioned text widget?
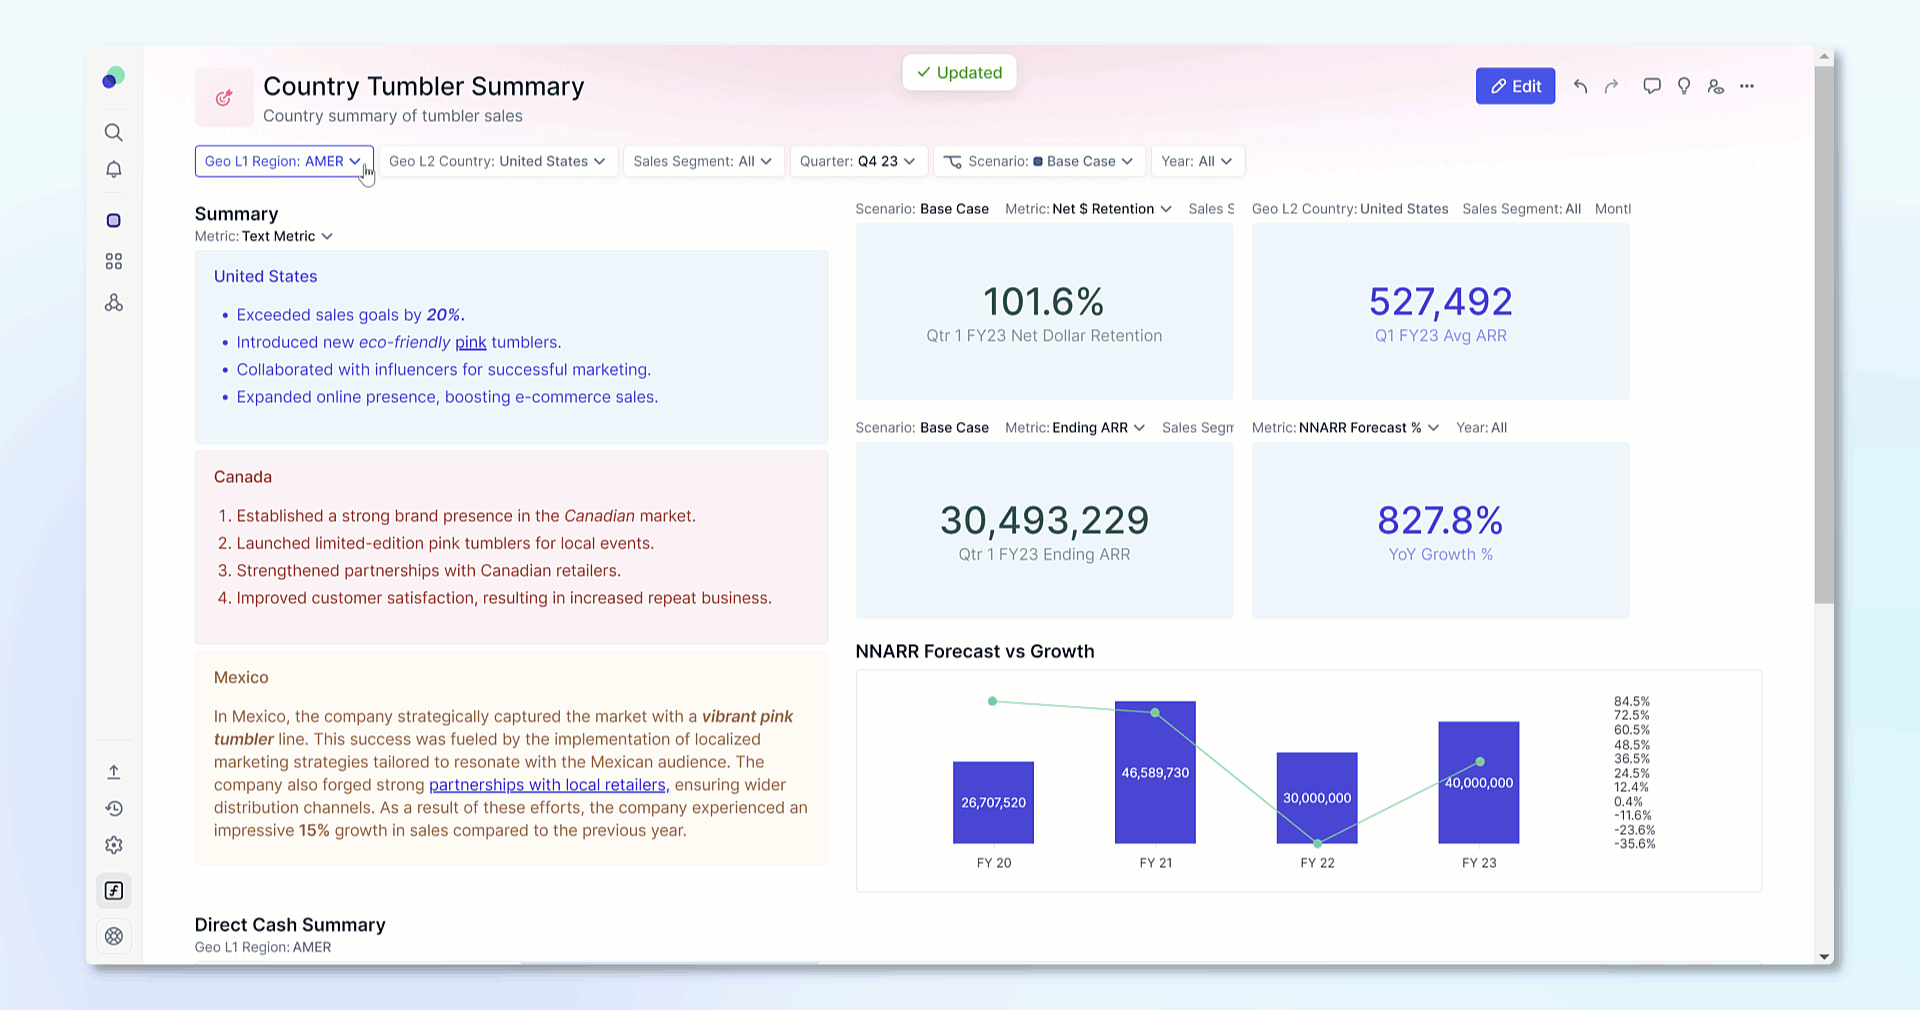
The Dimensioned text is a widget that allows users to display text Metrics as editable cards on a Board that adapts based on your Board's page selections. This feature is particularly useful for providing notes, writing summaries, or provide additional details on a Board. It can even be used for images depending on the Text format.
Writing in Dimensioned text widgets
If a Member has the correct access rights they will be able to view texts. They must have the Write permission to be able to edit a card once it is displayed on a Board.
To edit a Dimensioned text widget, you can click directly within the card or hover over the card and click the pencil icon. Changes to the text will be recorded in the Application history as these are considered Text Metric edits.
Once you are done editing a card, simply click outside of the card to save the edits
How to set up a Dimensioned text widget
Dimensioned Texts operate similarly to KPI widgets but are designed exclusively for text Metrics. They can be added directly from a Metric or from a Table.
Step 1 - Create a Metric of type text
This Metric can contain multiple dimensions to be able to adjust based on the widget or Board page selections. When creating the Metric, you can set the Text display at creation or adjust the formatting to define if the Metric should be Text, Rich text, or use URLs to set images.
You can adjust the formatting of individual published cards from a Board by using the … menu next to a card. This is nice for adjusting color. If you want to change between Text, Rich text or Images, you can adjust in the Metric’s settings menu.
Step 2 - Pivot dimensions to make the view compatible
Pivot the view to ensure there are not multiple rows of data, this means your dimensions must all be in either Pages or Columns.
Don't want to display the Metric name on the cards? Easy, just move the Metric labels to the Rows section in Pivot.
Step 3 - Change display mode to cards
In the top left, next to the View panel, change the display mode from Grid to Cards. If you do not see the Card icon, make sure your data type is set to Text. If you get a message that your view is not compatible, pivot your dimensions so that you do not have multiple rows of data.

Step 4. Configure Display options
Click on the format button on the block header. Adjust the display options and save the view once you are finished.
-
Content layout: Defines how the content will be displayed within the card.
- Single Value: Optimized for displaying figures and short texts
- Multiple Lines: Optimized for displaying long texts. Column headers become subtitles, and the closest header to the grid is the card title. This option is fully compatible with rich text and image formatting options.
-
Orientation: Choose between Vertical and Horizontal to define how the cards are stacked.
It is possible to adjust these options once a Dimensioned Text widget is added to the Board from the Widget settings panel. These display options are considered view options so all changes must be saved within the view.
Step 5. Add to Board
You can add to a Board by clicking the View actions button next to save in the top right of the Block.
You can also add it from the Board by following these steps
- Click the Edit Board button on the Board to which you want to add an image.
- Click + Add a Widget and select Dimensioned texts.
- Select the Metric or Table and then choose the view you saved.
Aggregated views can not be displayed so adjust your page selections to be able to read or edit text.
Adjusting Dimensioned text widgets while on a Board
It is possible to make adjustments to a Dimensioned text widget once it has been added to a Board.
From the board with the widget on it, click Edit
Next hover over the Dimensioned text widget and click the settings cog wheel. Here you can adjust the name of the widget title or click the eye icon to hide it.
To change how to navigate or how the dimensioned text is displayed, you must adjust the View configurations. The View configurations determine if there are single or multiple values and if the layout is Horizontal or Vertical.
If you make any adjustments to this, you must Save the view or else the widget will revert to any previous settings.