A Snapshot preserves the state and data of an application at a specific point in time. The state includes all the Blocks, data, and Boards. Once a model is snapshotted, the snapshot essentially acts like a read-only version of the Application.
Table of Contents
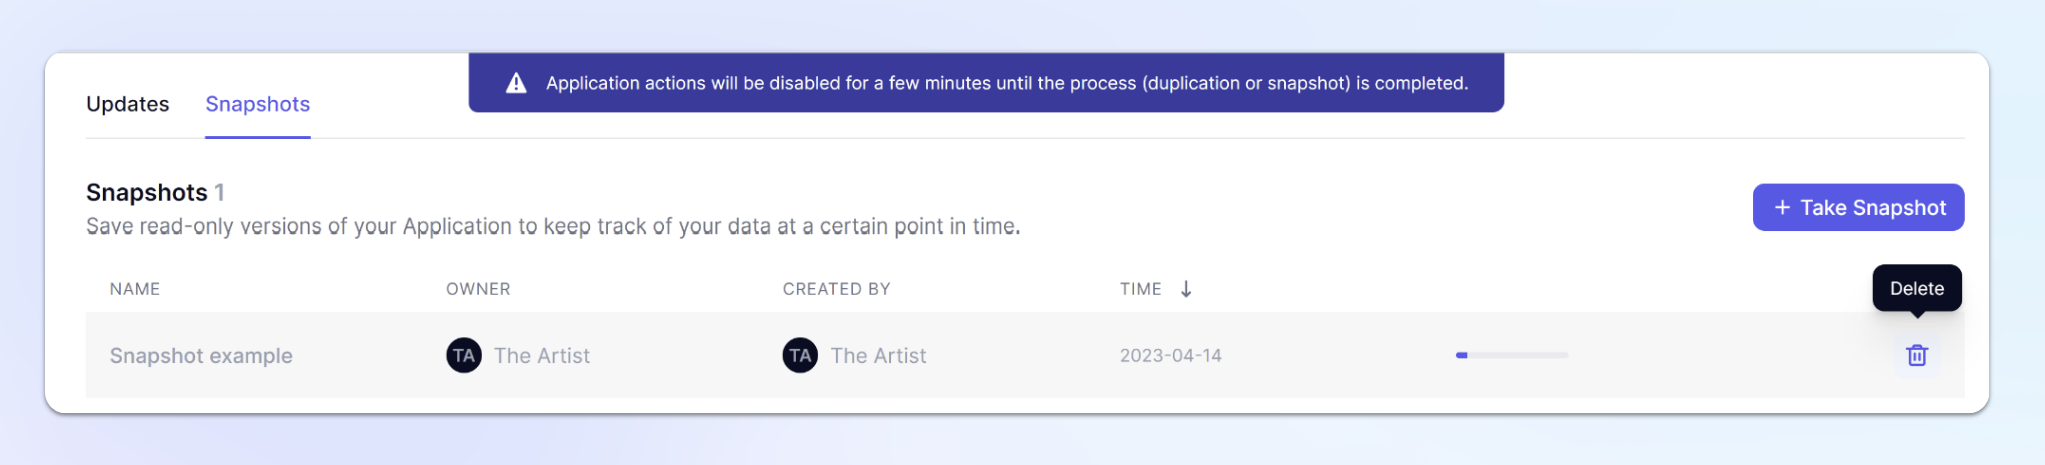
April - Release update! Now you can cancel a snapshot by clicking on the delete icon.
Permissions needed
Members must have an account type of Builder or higher and the Can Open permission on the application to be able to take a snapshot.
Access rights and snapshots
When a snapshot is taken, the Access rights configuration is also stored and can not be edited. For example, if someone had access to one country’s data when a snapshot was taken, they will only be able to access that one country’s data in the snapshot. Even if they have been given access to more countries since the snapshot was taken.
You can open a support ticket to give a user access to a snapshot. Because it is not possible to edit access rights, please provide the name of someone whose Access rights configuration should be cloned.
What happens when you take a snapshot?
When you take a snapshot of an Application, you create a copy of that Application that can not be edited. This means your formulas, data, boards, and blocks will all be static. This means you will not be able to adjust formulas or figures in the snapshot, including the switchover date. You will not be able to see any items added to lists after the snapshot was made.
When to take snapshots?
Snapshots allow you to freeze your model at a point in time. This can be used to freeze numbers in case you need to refer to them later.
It is also a good thing to do before important model changes, in case someone accidentally breaks something, or after an important meeting to make sure that you keep access to figures that you presented in the past 😉. When you open up a snapshot, you have the ability to see the items within a list, formulas, and other application settings you can also drill down. This view is only available when you directly open the snapshot, you can not view old formula when comparing snapshots with scenarios.
How to take a Snapshot
- Open the application
- From the sidebar, select History.
- Click on the Snapshot tab a the top.
- Type a name for your snapshot. Every snapshot must have a unique name. By default it will take the date of the day the Snapshot was taken.
- For Applications with Scenarios activated, use the dropdown to select which Scenarios you want have snapshotted. By default, it will be set to All Scenarios.
- Click on Take Snapshot
Depending on your application’s volume, this operation can last a few seconds/minutes. While you are taking a snapshot, you cannot edit your application. Refresh your page after a short moment to verify if your snapshot is done.
Canceling a Snapshot
When taking a Snapshot, a progress bar will show you how far along your snapshot is. You can cancel a snapshot at any time by clicking the delete icon on the far right.
Renaming a Snapshot
You can rename a snapshot by clicking on the related pencil icon. You can delete a snapshot by clicking on the related bin icon. If an Application is using Scenarios, you can rename the Scenario within the snapshot. This makes it easier to compare to current versions of that Scenario.
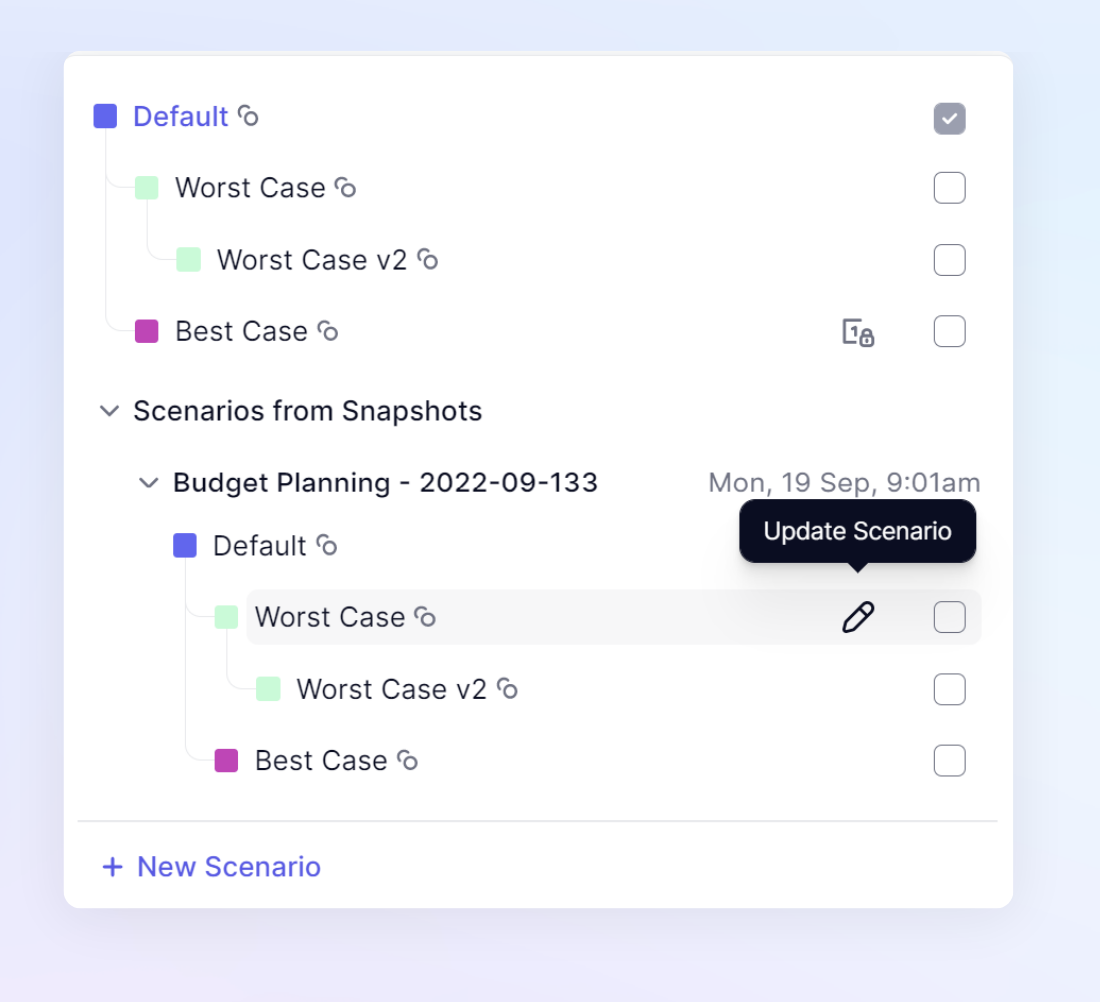
Renaming a Scenario within a snapshot
To make it easier to distinguish between snapshotted scenarios and current scenarios. We recommend renaming them. You can rename a snapshot by clicking on the pencil icon it in the Scenario selector. You must be a Workspace Admin to rename scenarios that are used in multiple applications.